
The Ceramic Process.
Being a complex creative medium, your ceramic piece goes through many stages before ending up in your home. Scroll to learn about the process as well as the effort, patience, and sometimes just luck of the draw, throughout each step.
Between all the moisture management, chemistry, and technicalities, working with clay is extremely rewarding and freeing, opening doors to creative ideas otherwise locked within 2D mediums. With creations being both decorative and functional and designs and techniques being endless, you are guaranteed to get a unique and passionately handcrafted piece in the midst of a machine made mass produced world.
Clay & Bisque.
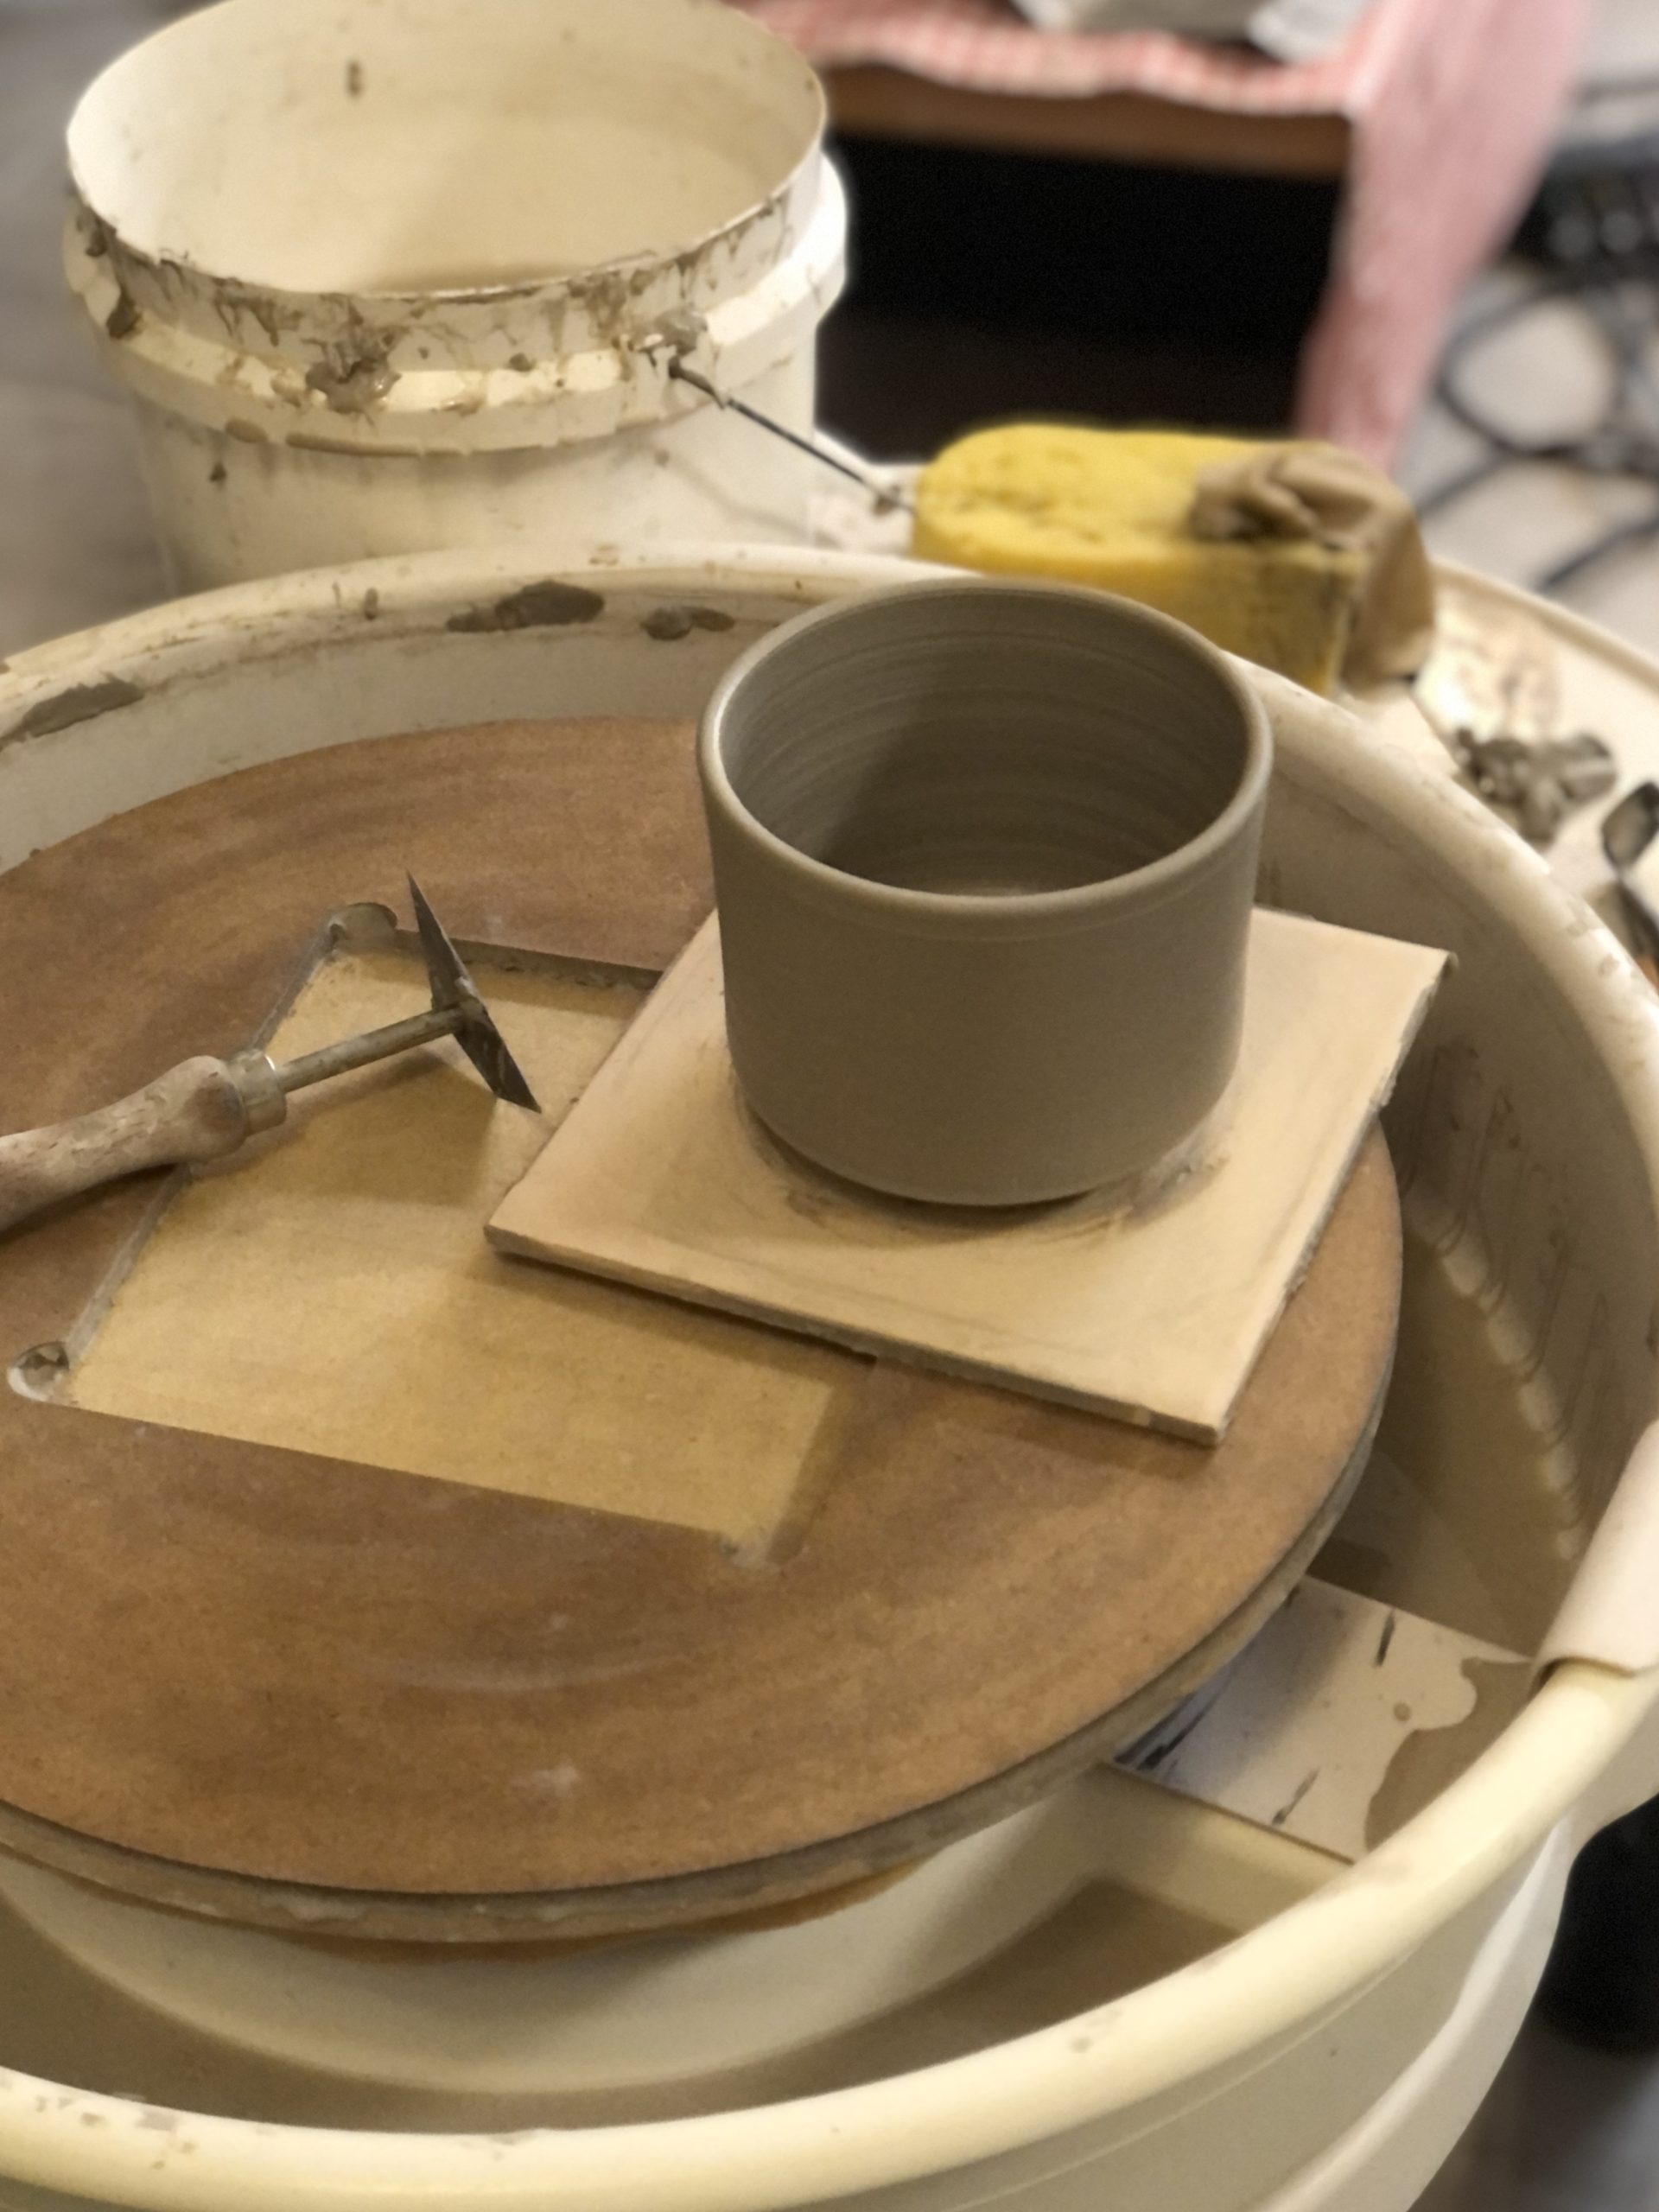
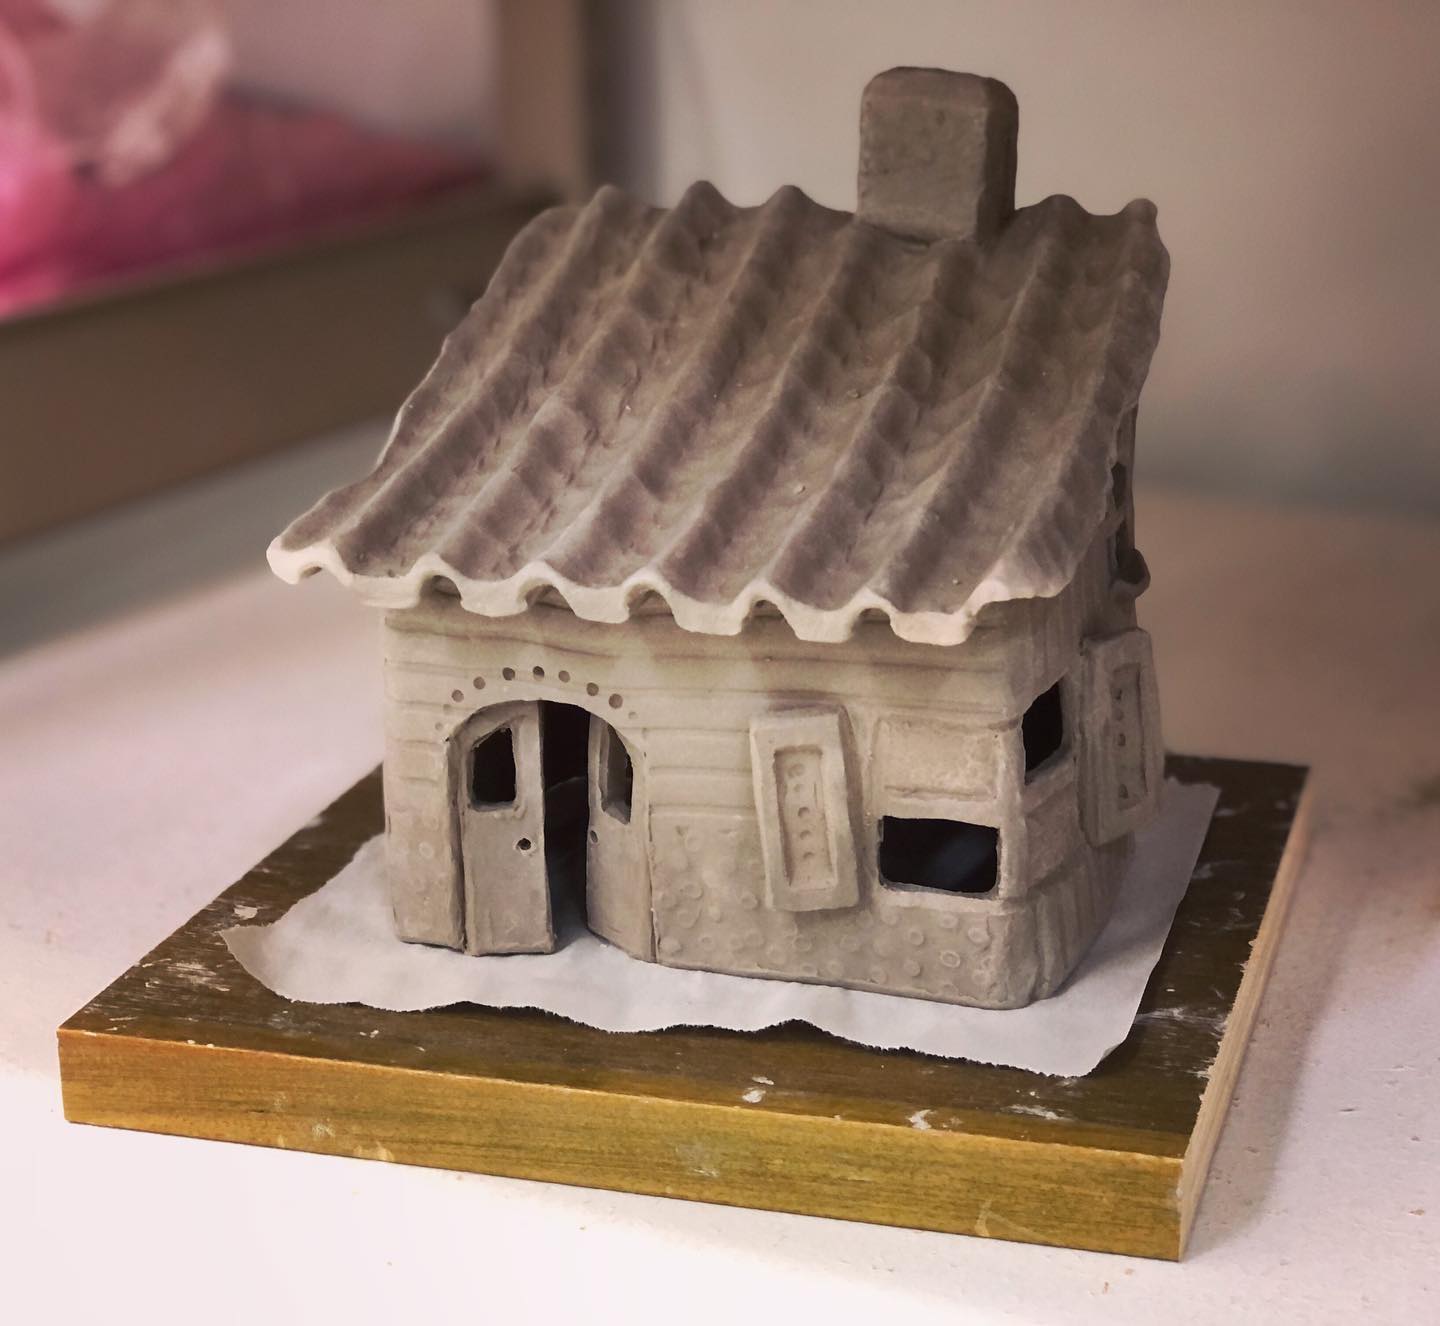
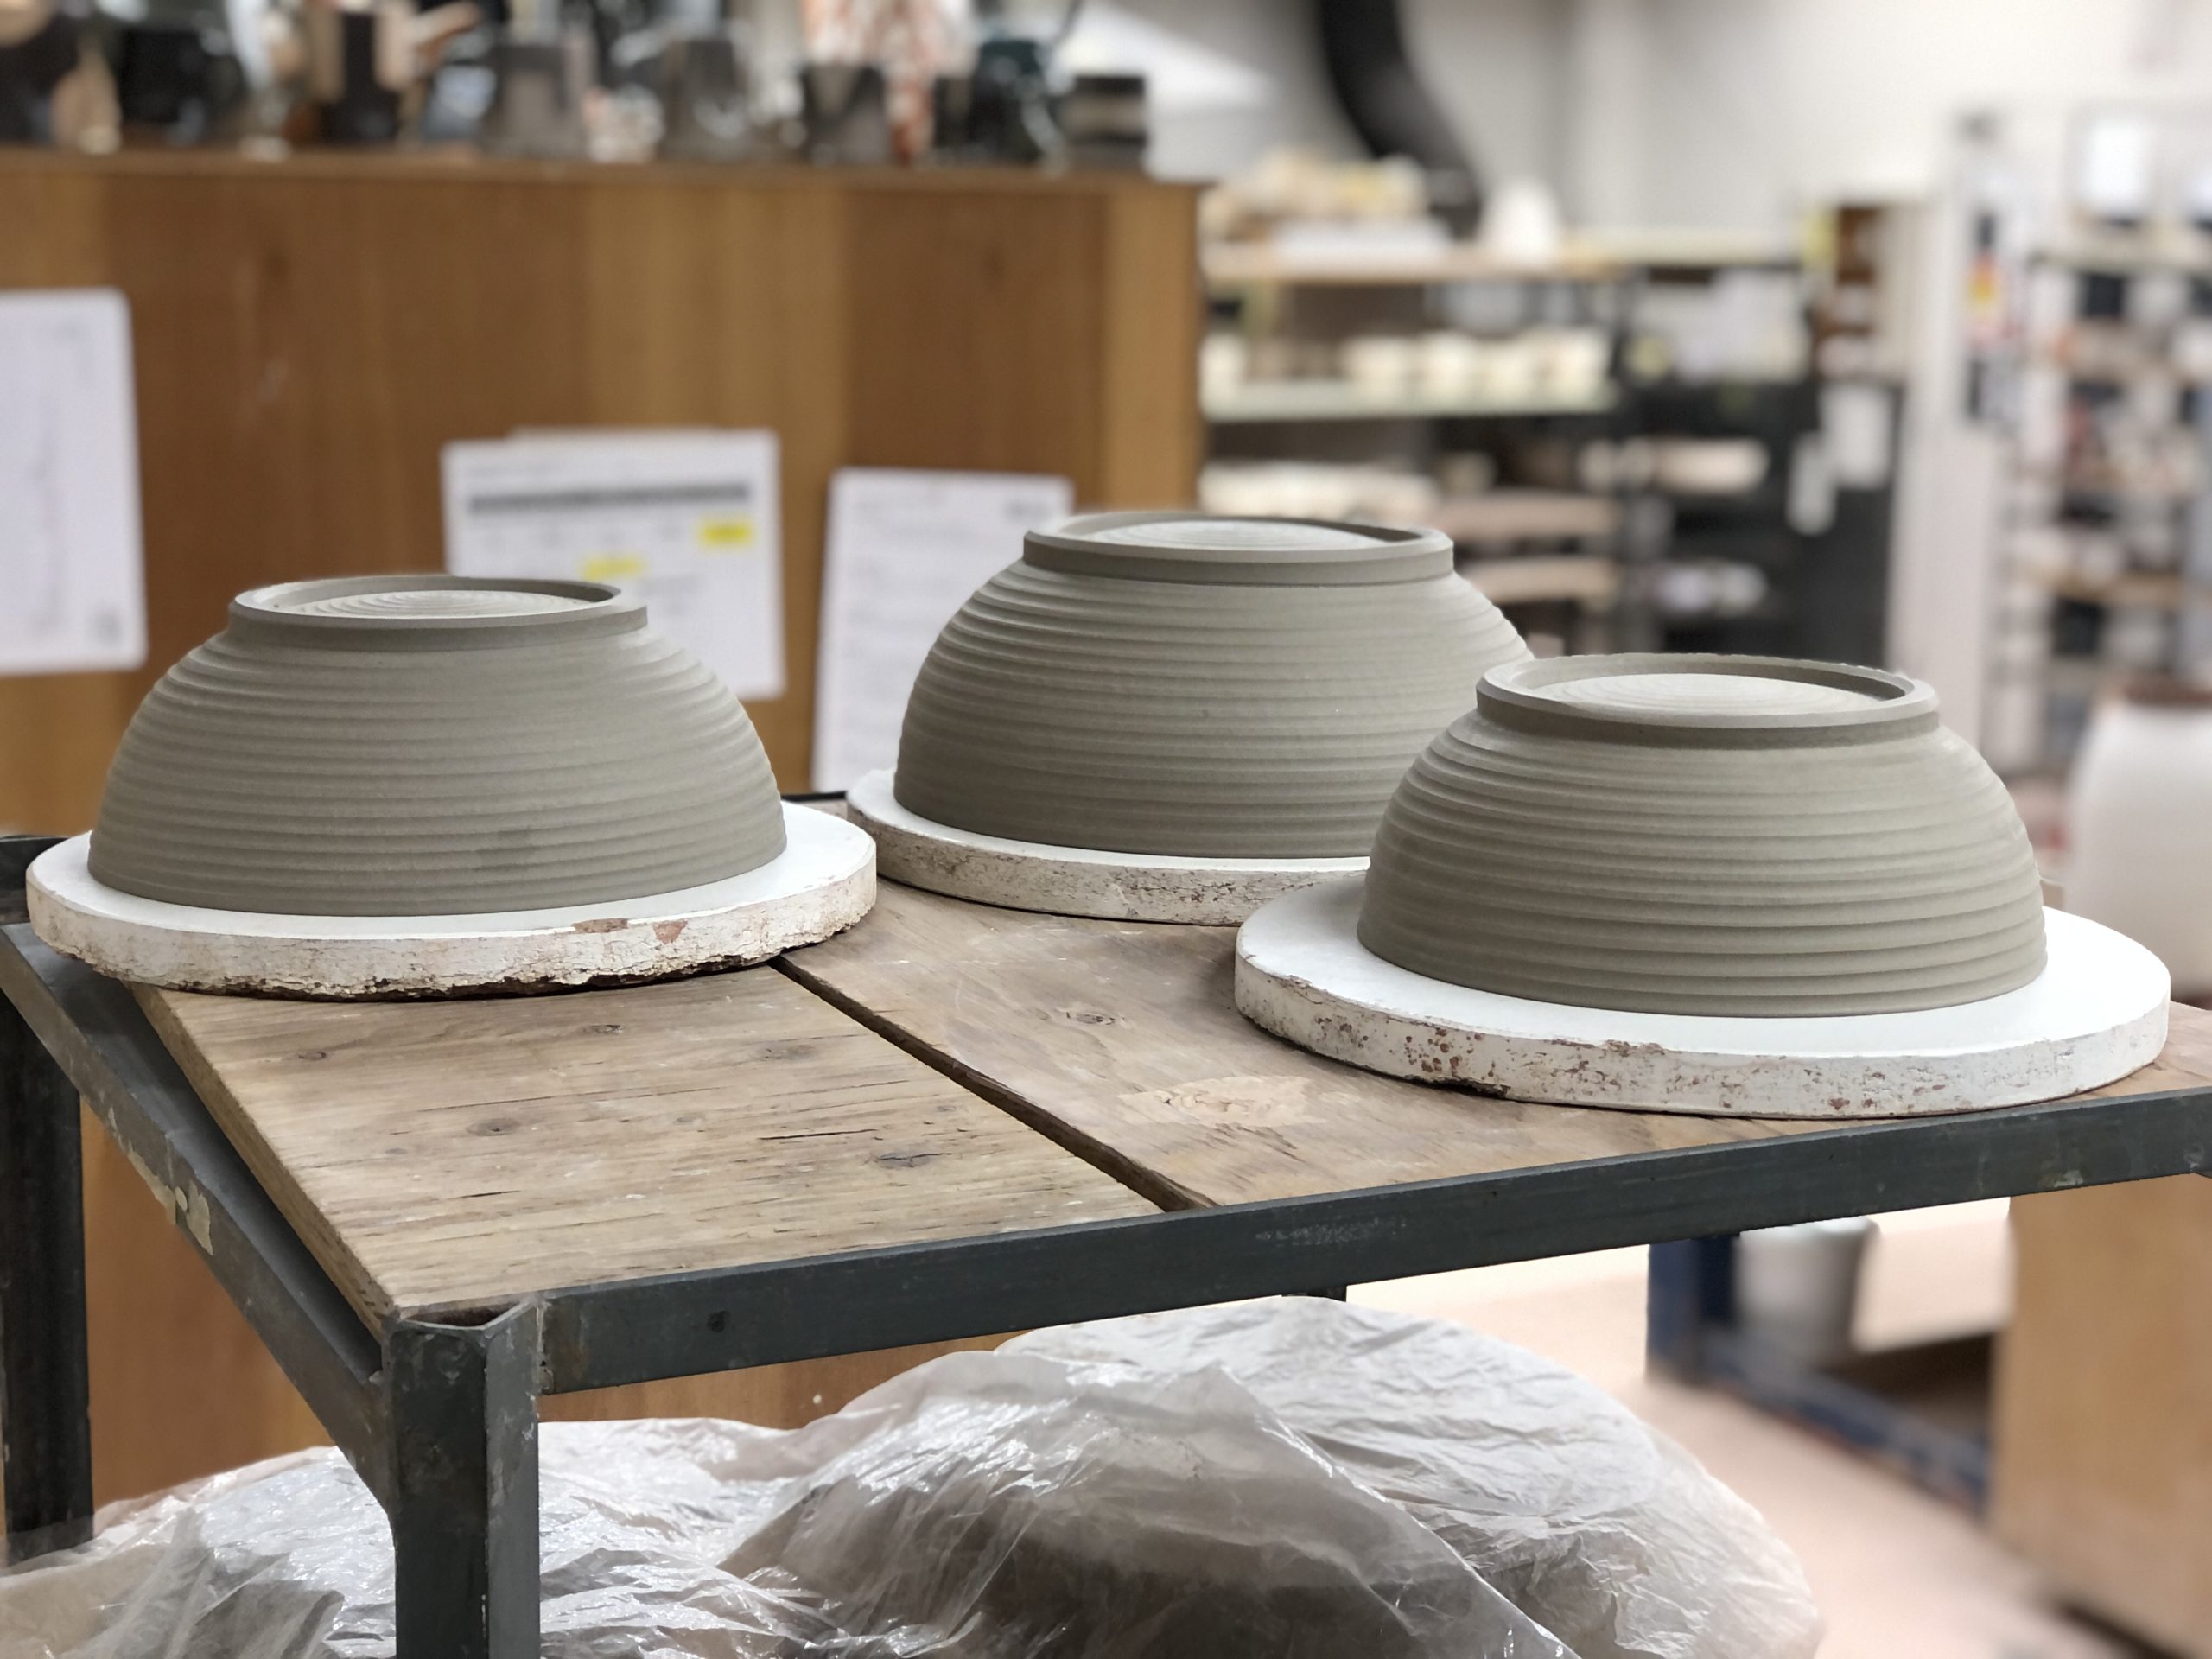
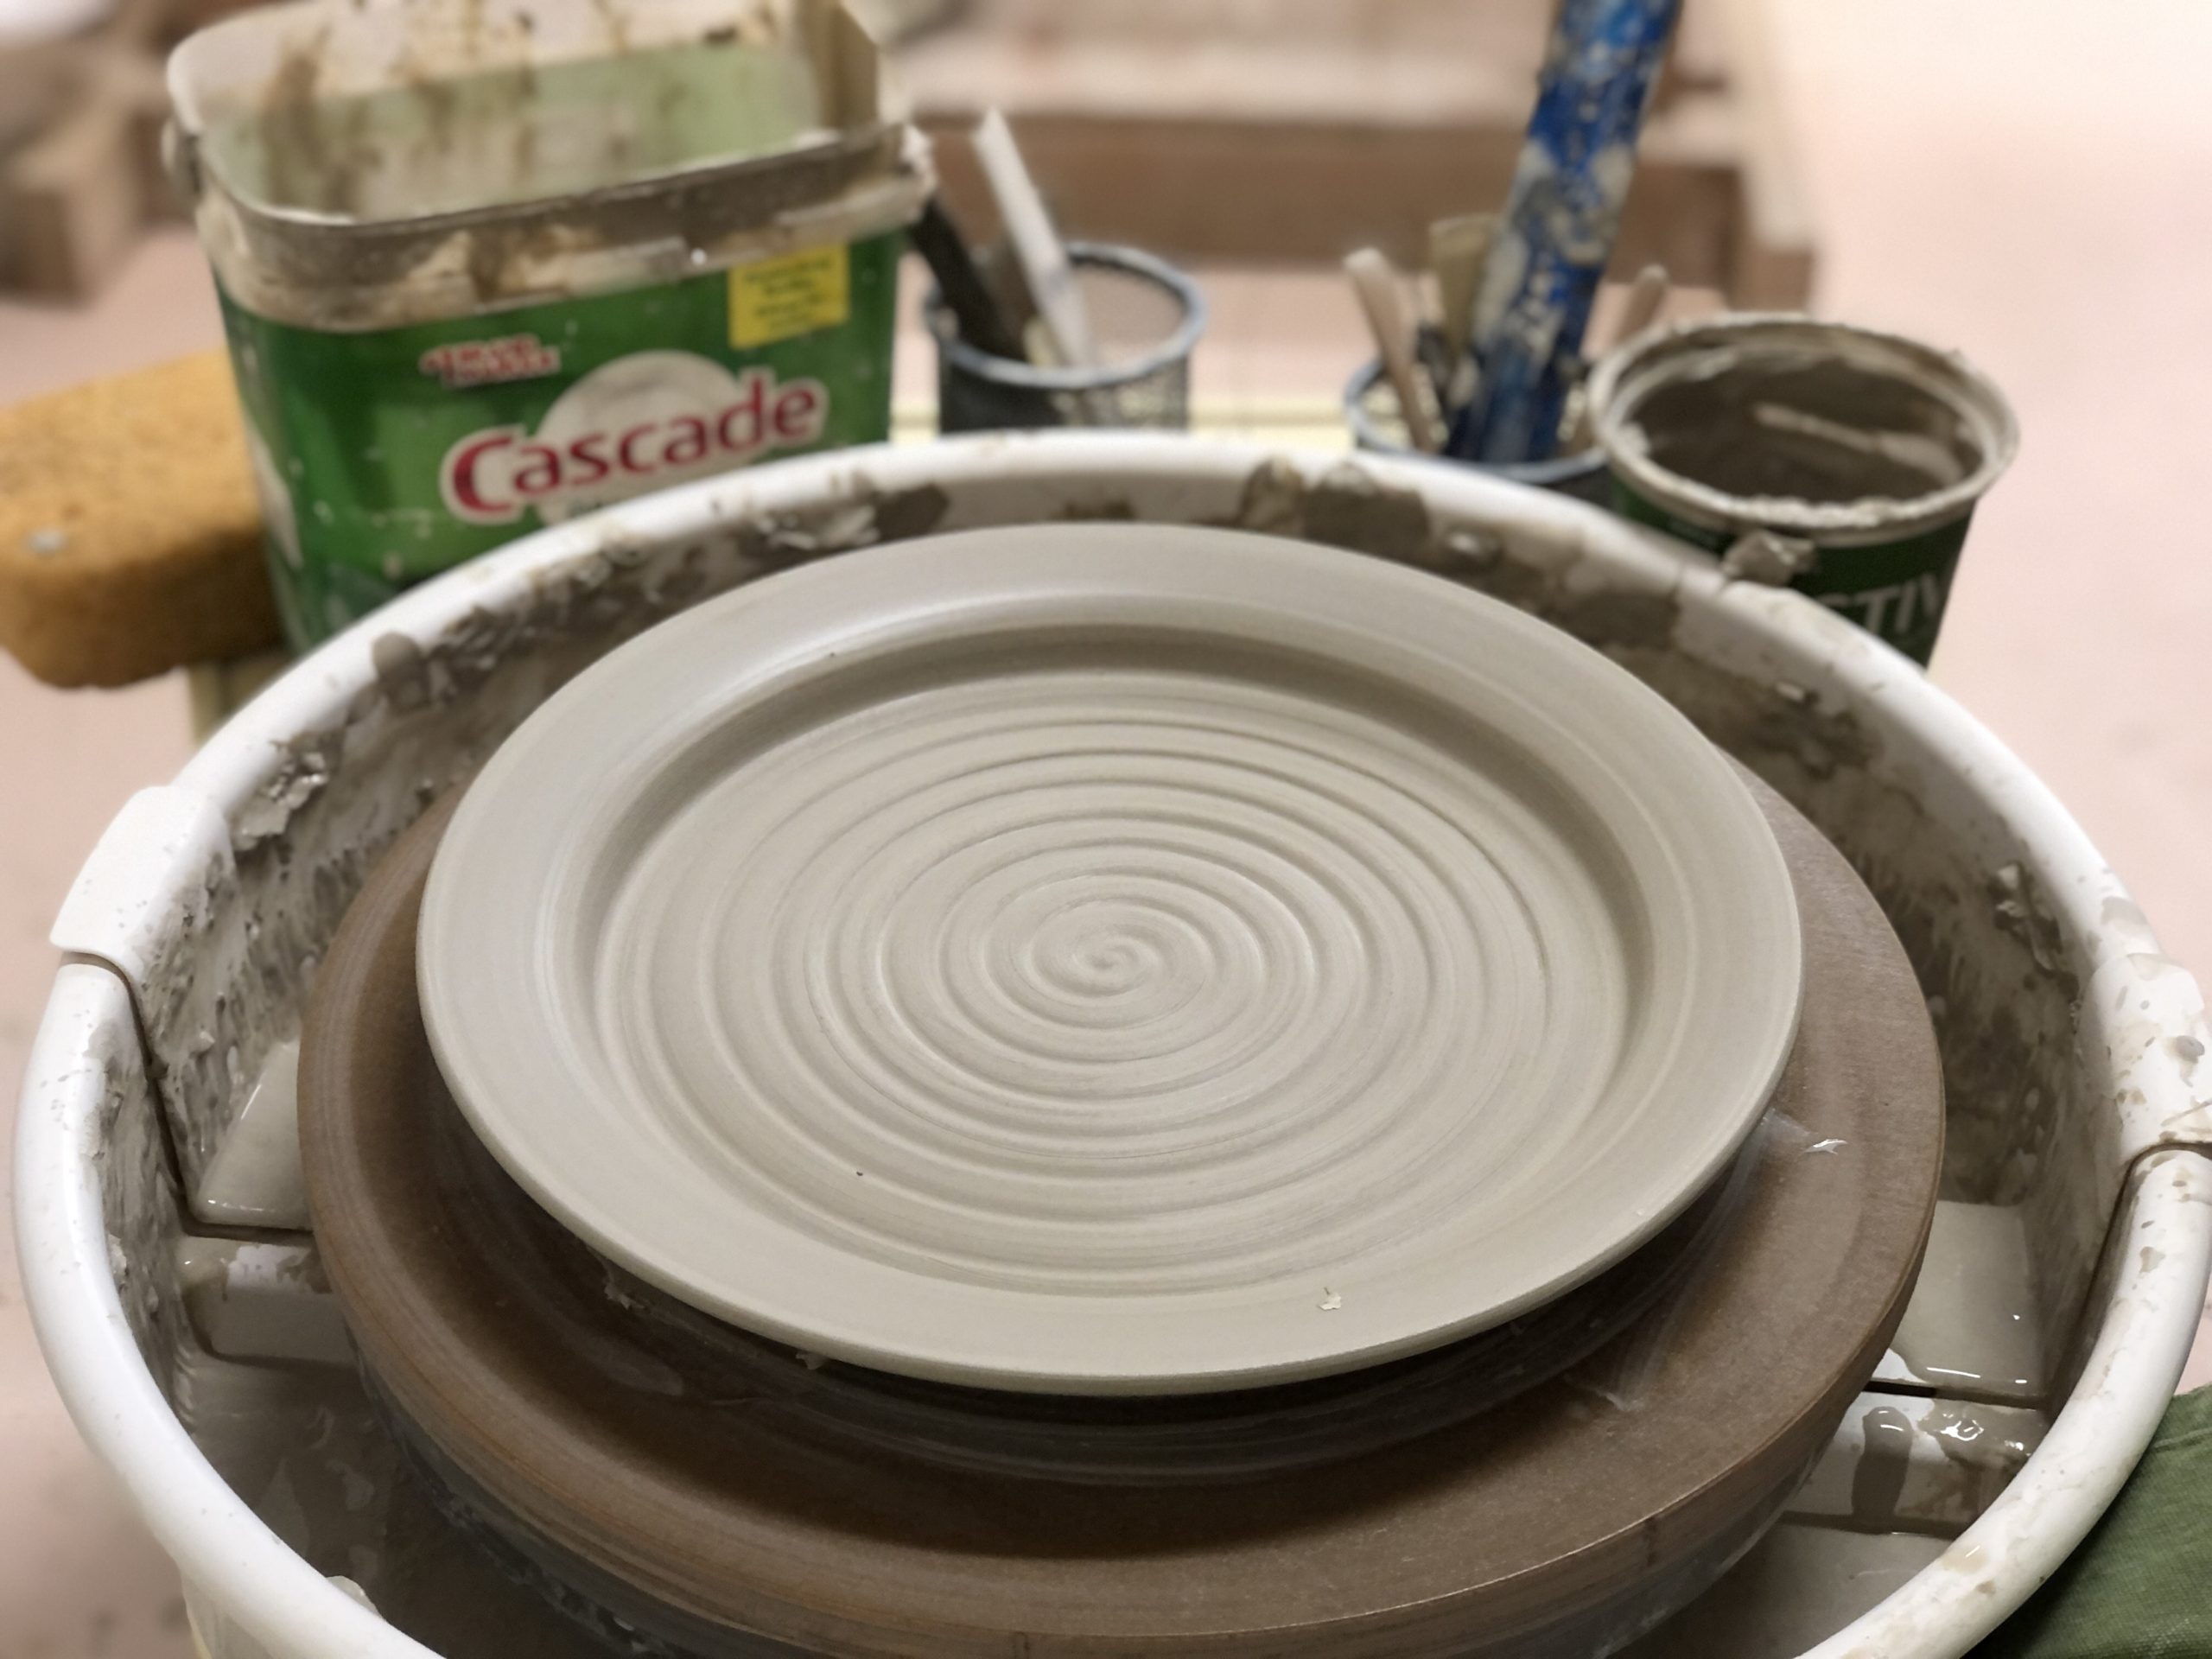
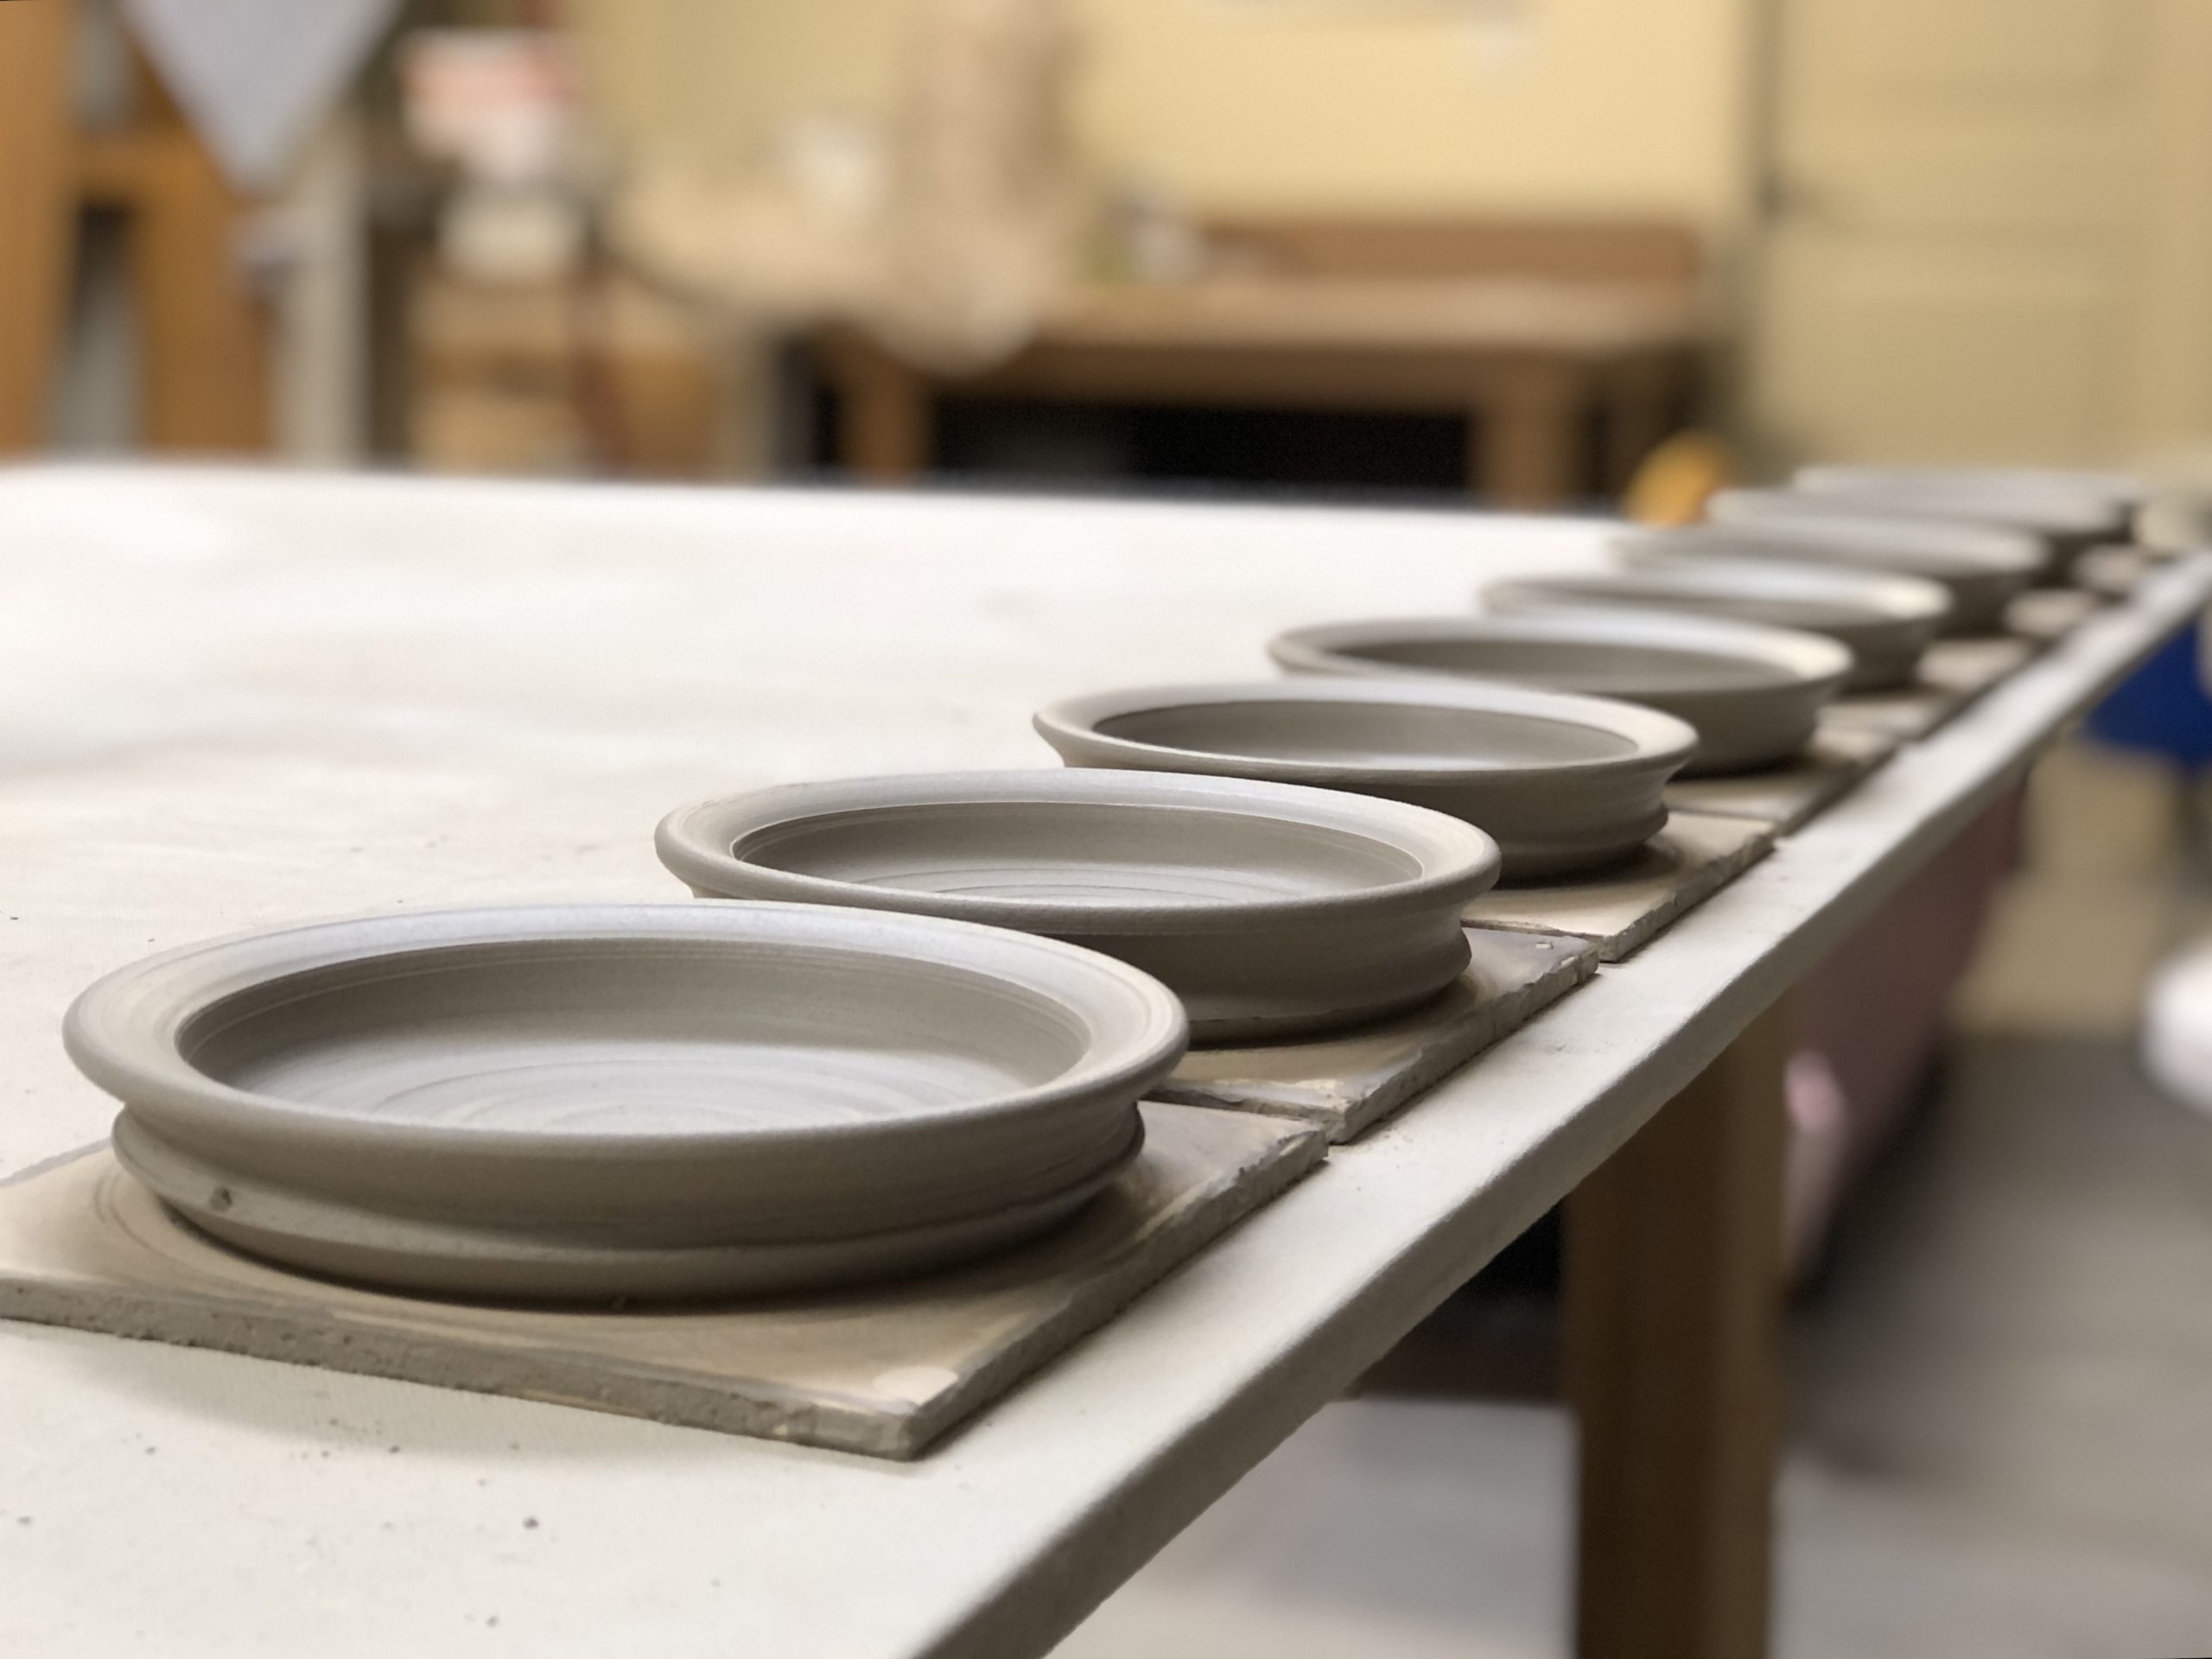
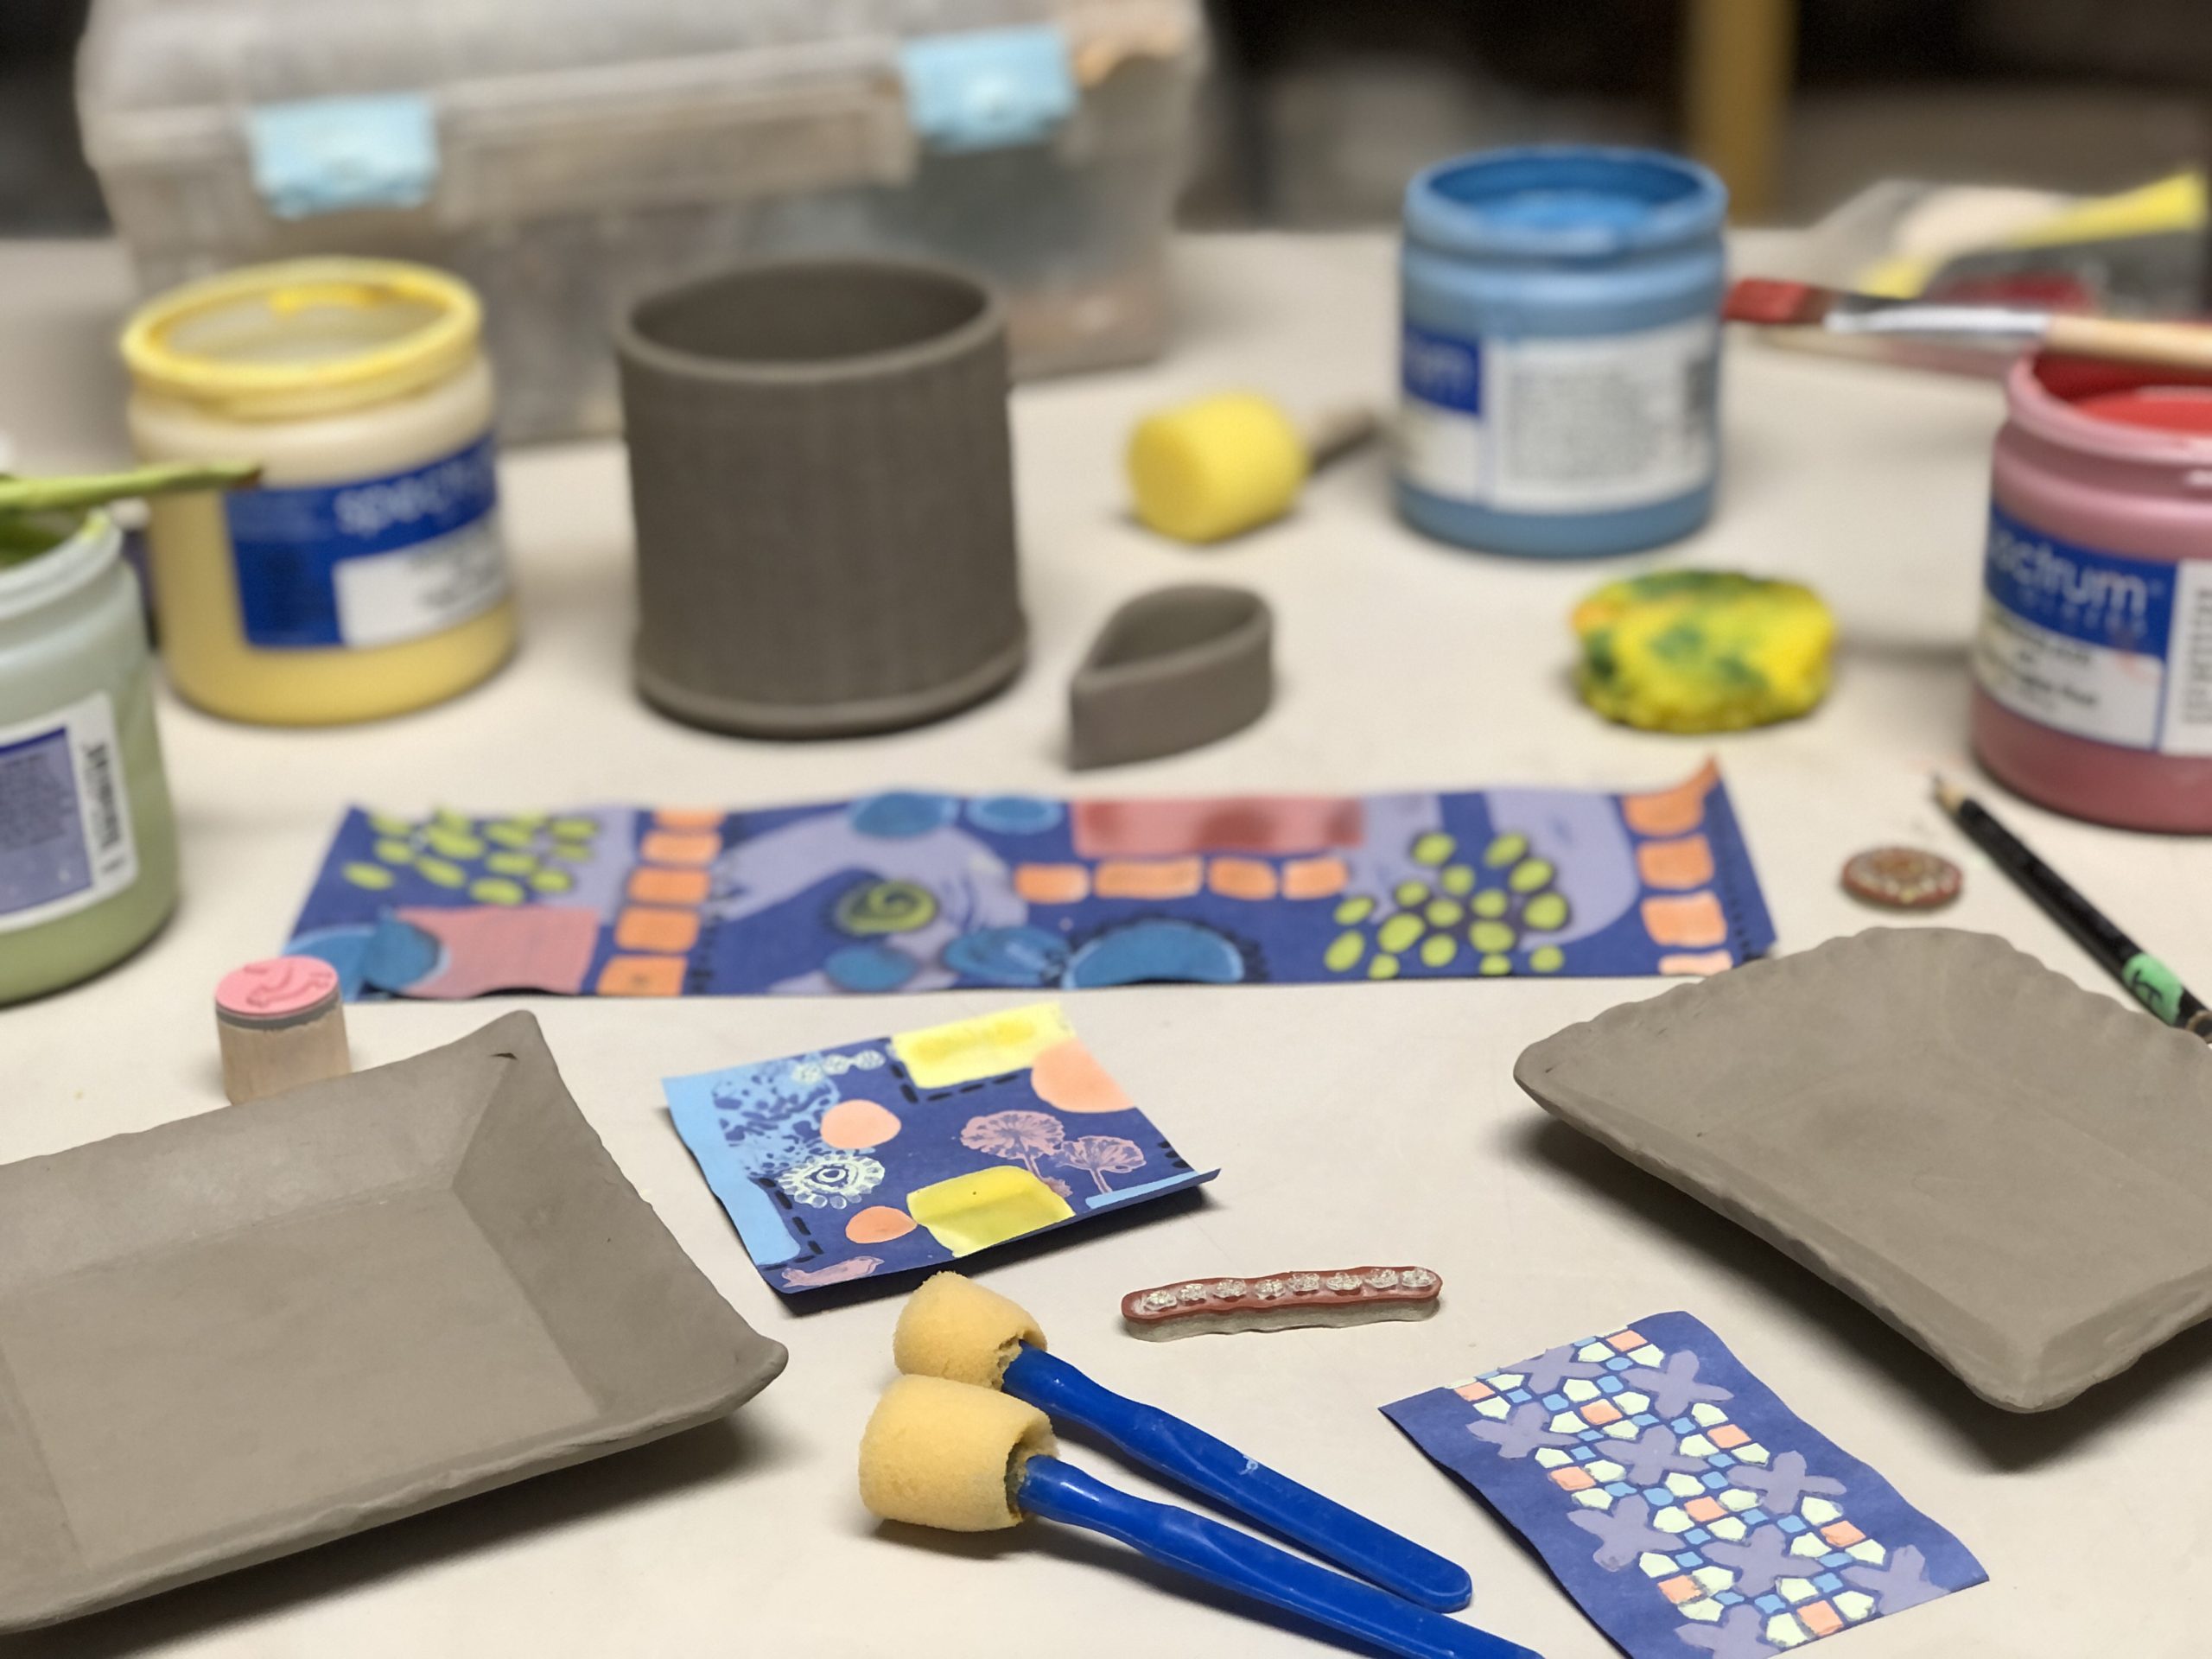
A formless mass of clay gets transformed into a hand sculpted or wheel-thrown piece. It then drys slowly over several days or several weeks depending on the size and shape, to prevent warping and cracking. Making several of one item at this stage is a common practice for potters, as we know with each step brings the chance of an unexpected casualty.
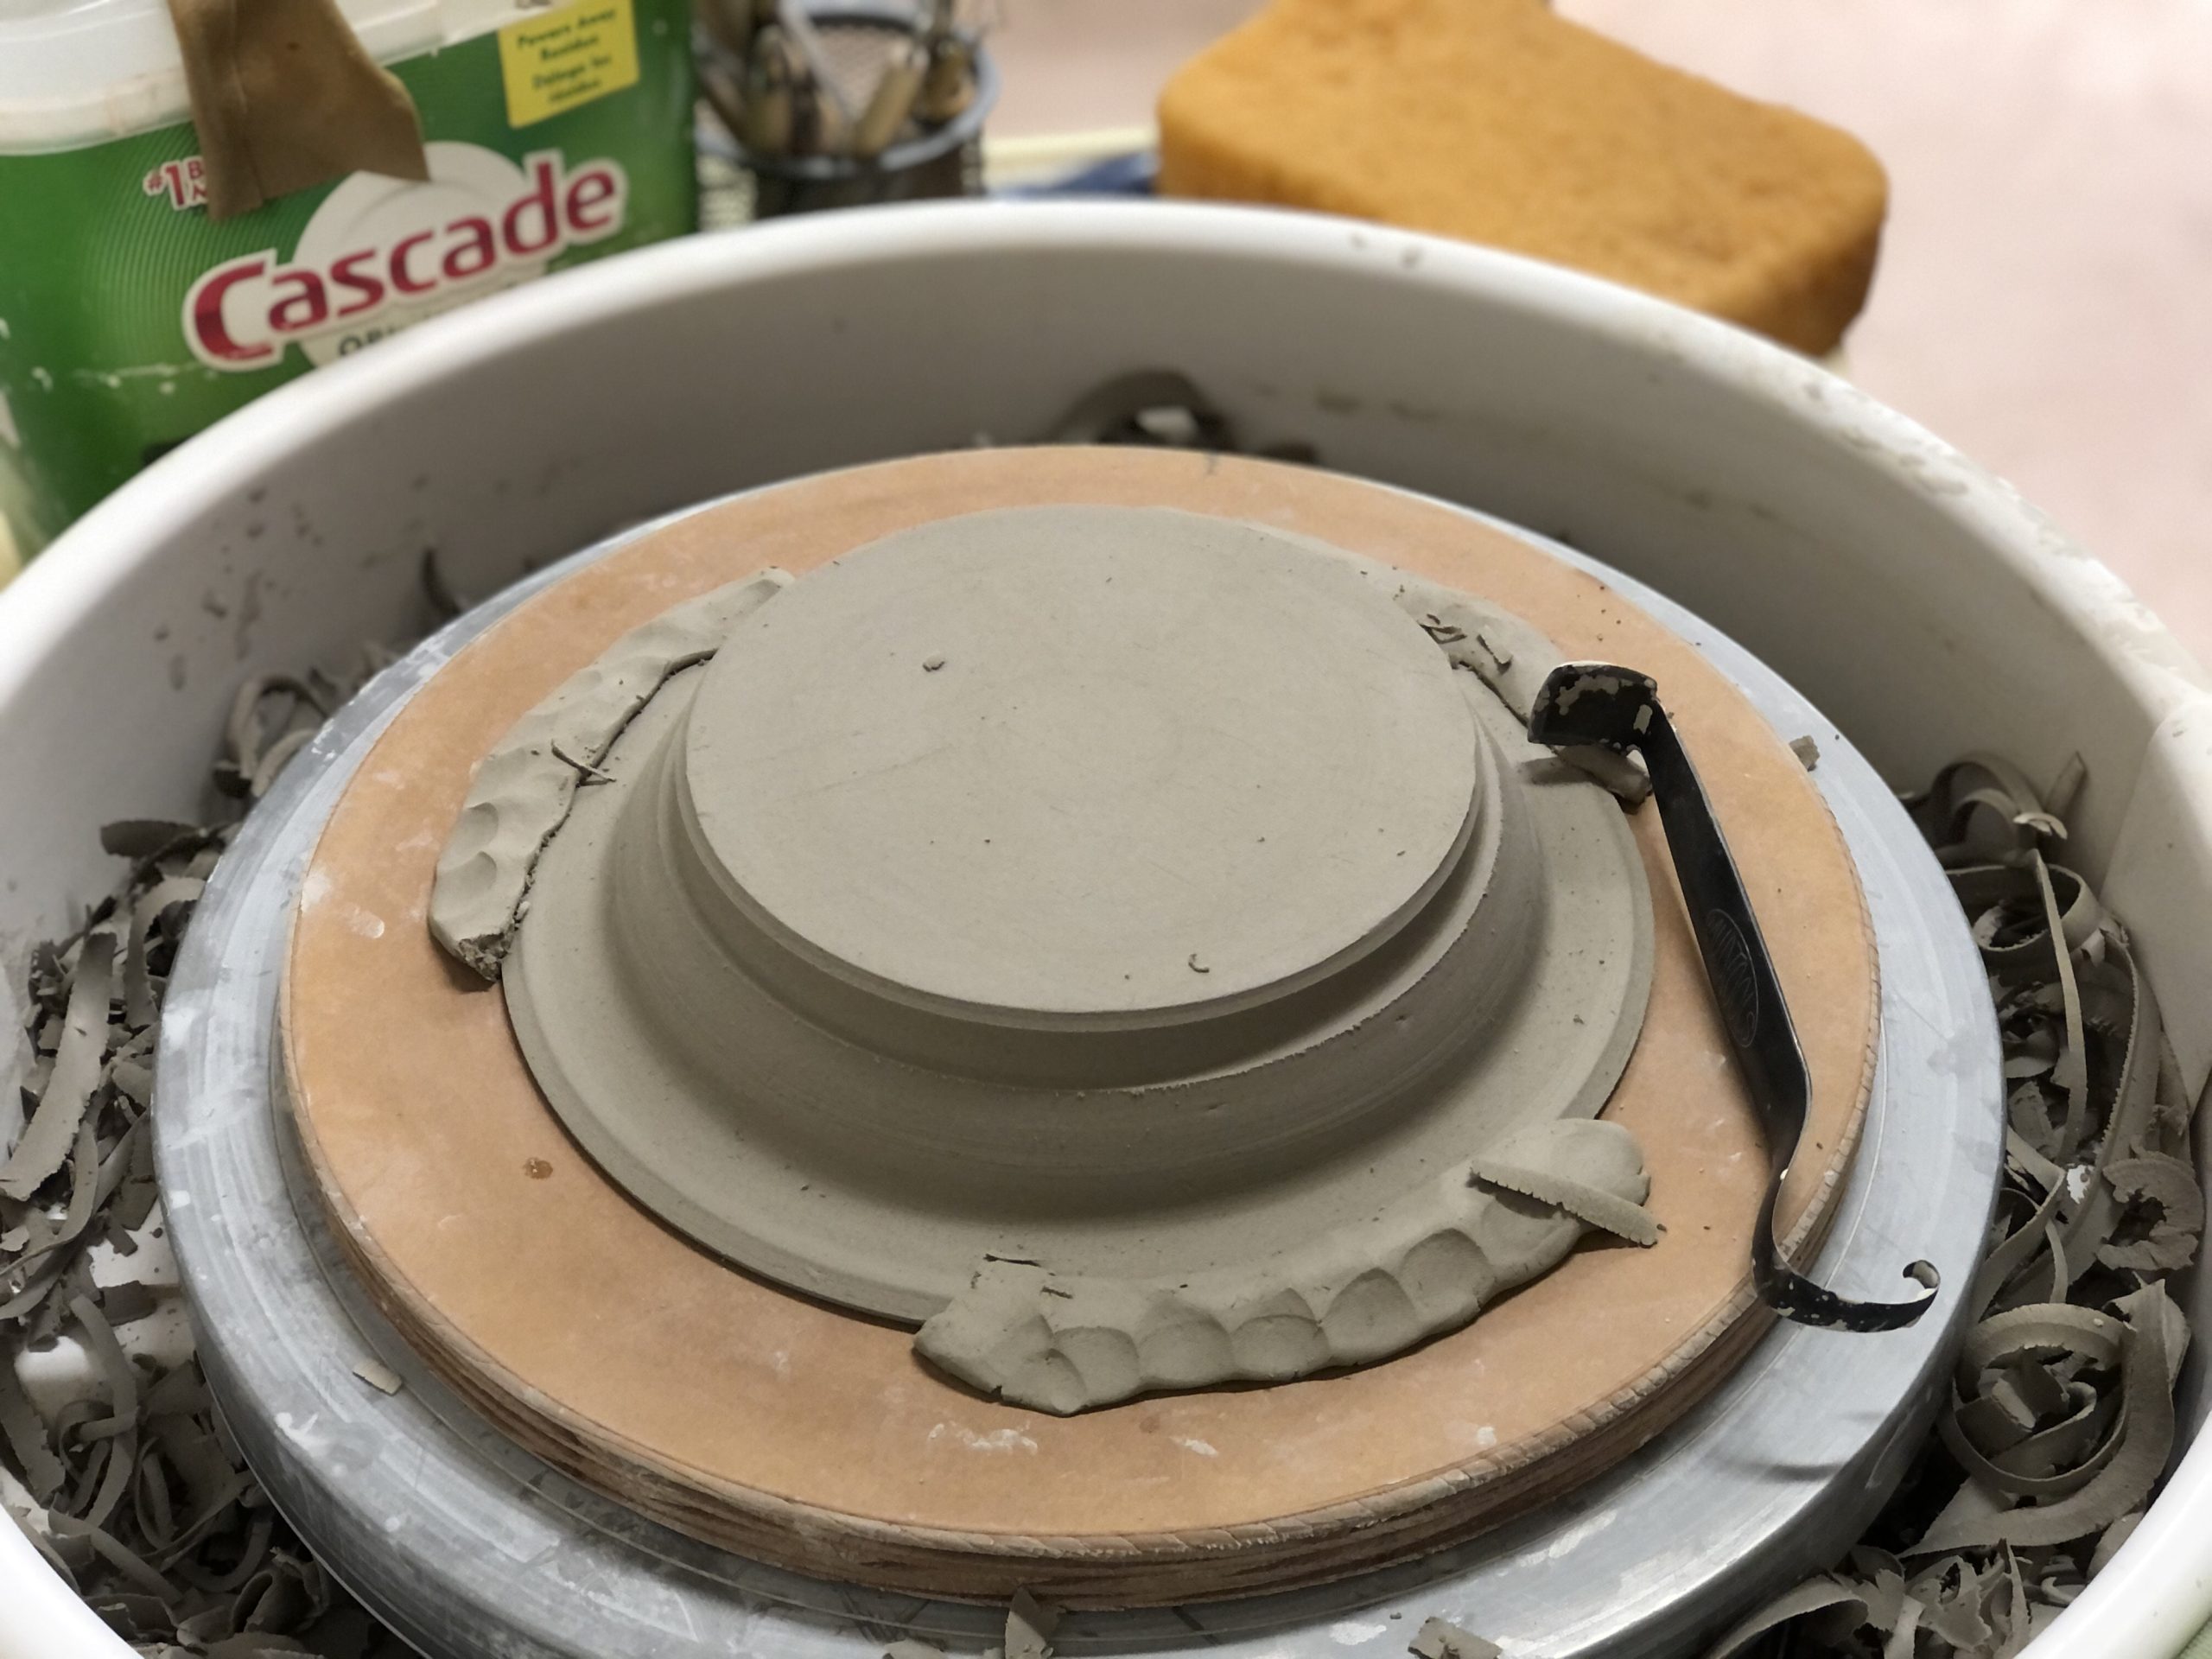
Before wheel thrown pieces are completely dry, potters will often trim them when they have lost just enough moisture to hold their shape when handled, called the ‘leather hard’ stage. Trimming with a sharp tool while the piece spins on the potters wheel carves off excess clay and allows you to fine tune the shape and foot of a piece. Once completely ‘bone dry’, creations can then be fired in a kiln to become bisque ware.
The temperature and length of fire depend on the clay body, but a common stoneware clay is fired between cone 06 to 04, which is roughly between 1816-1975°F (991-1079°C). Depending on the kiln size, load density, and temperature increase, a bisque firing can take around 8-12 hours to reach temperature. To prevent cracks from thermal shock, the kiln then cools back down for another 10-12hrs until it is safe to unload. Creations are now durable yet still absorbent and ready to be glazed.
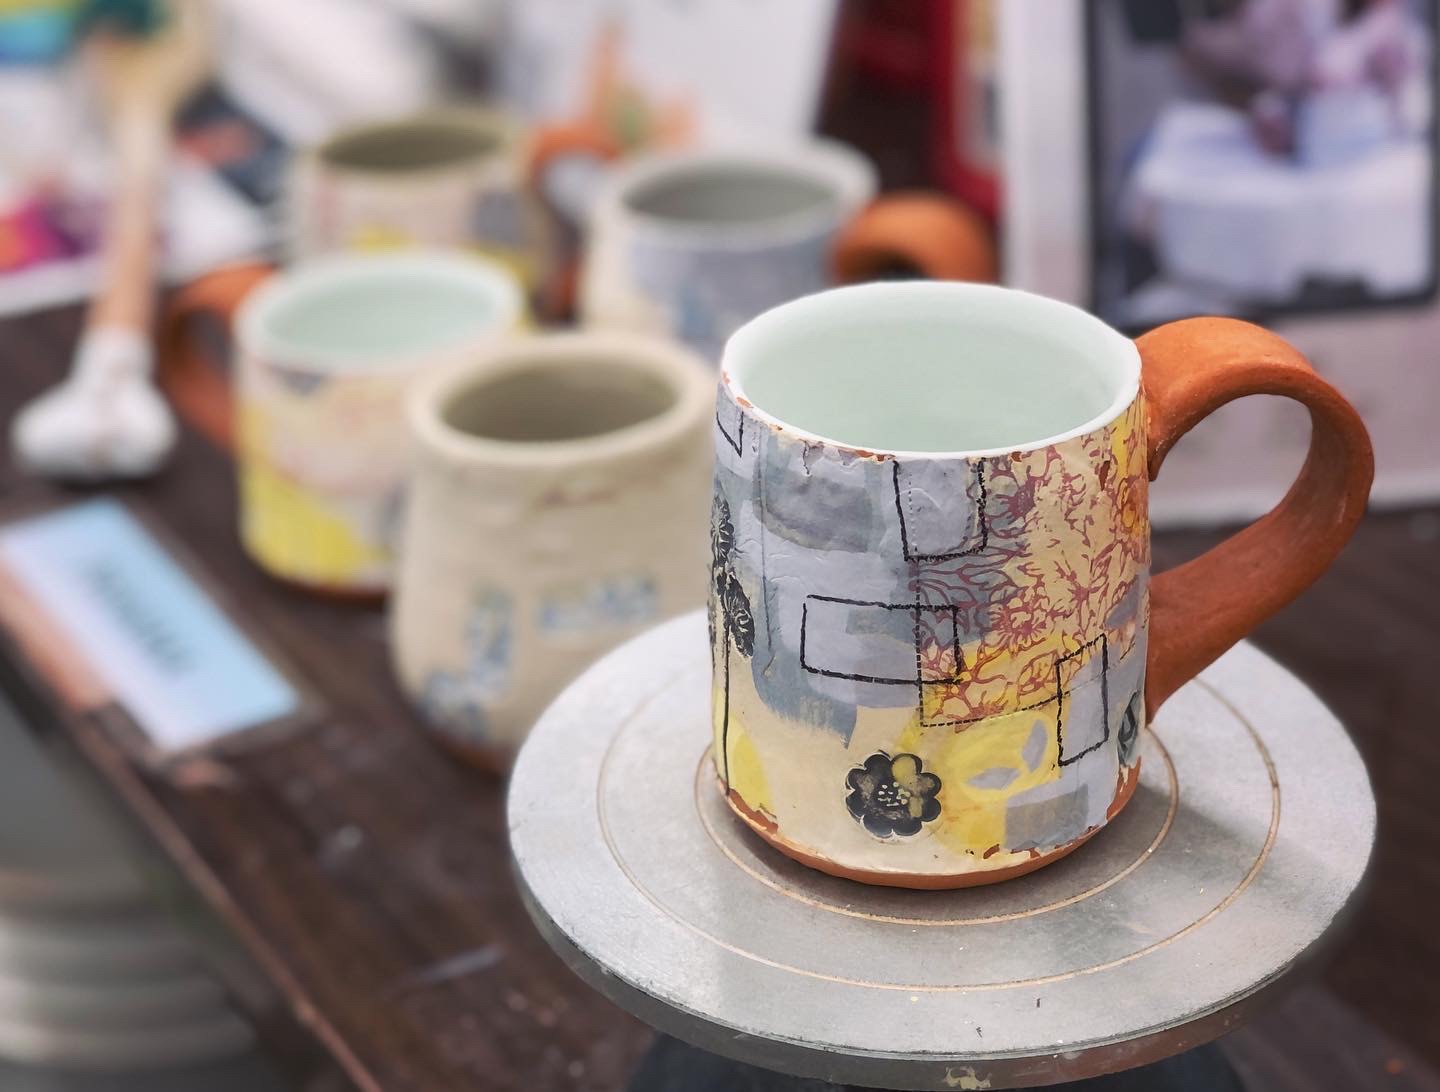
Glaze & Finish.
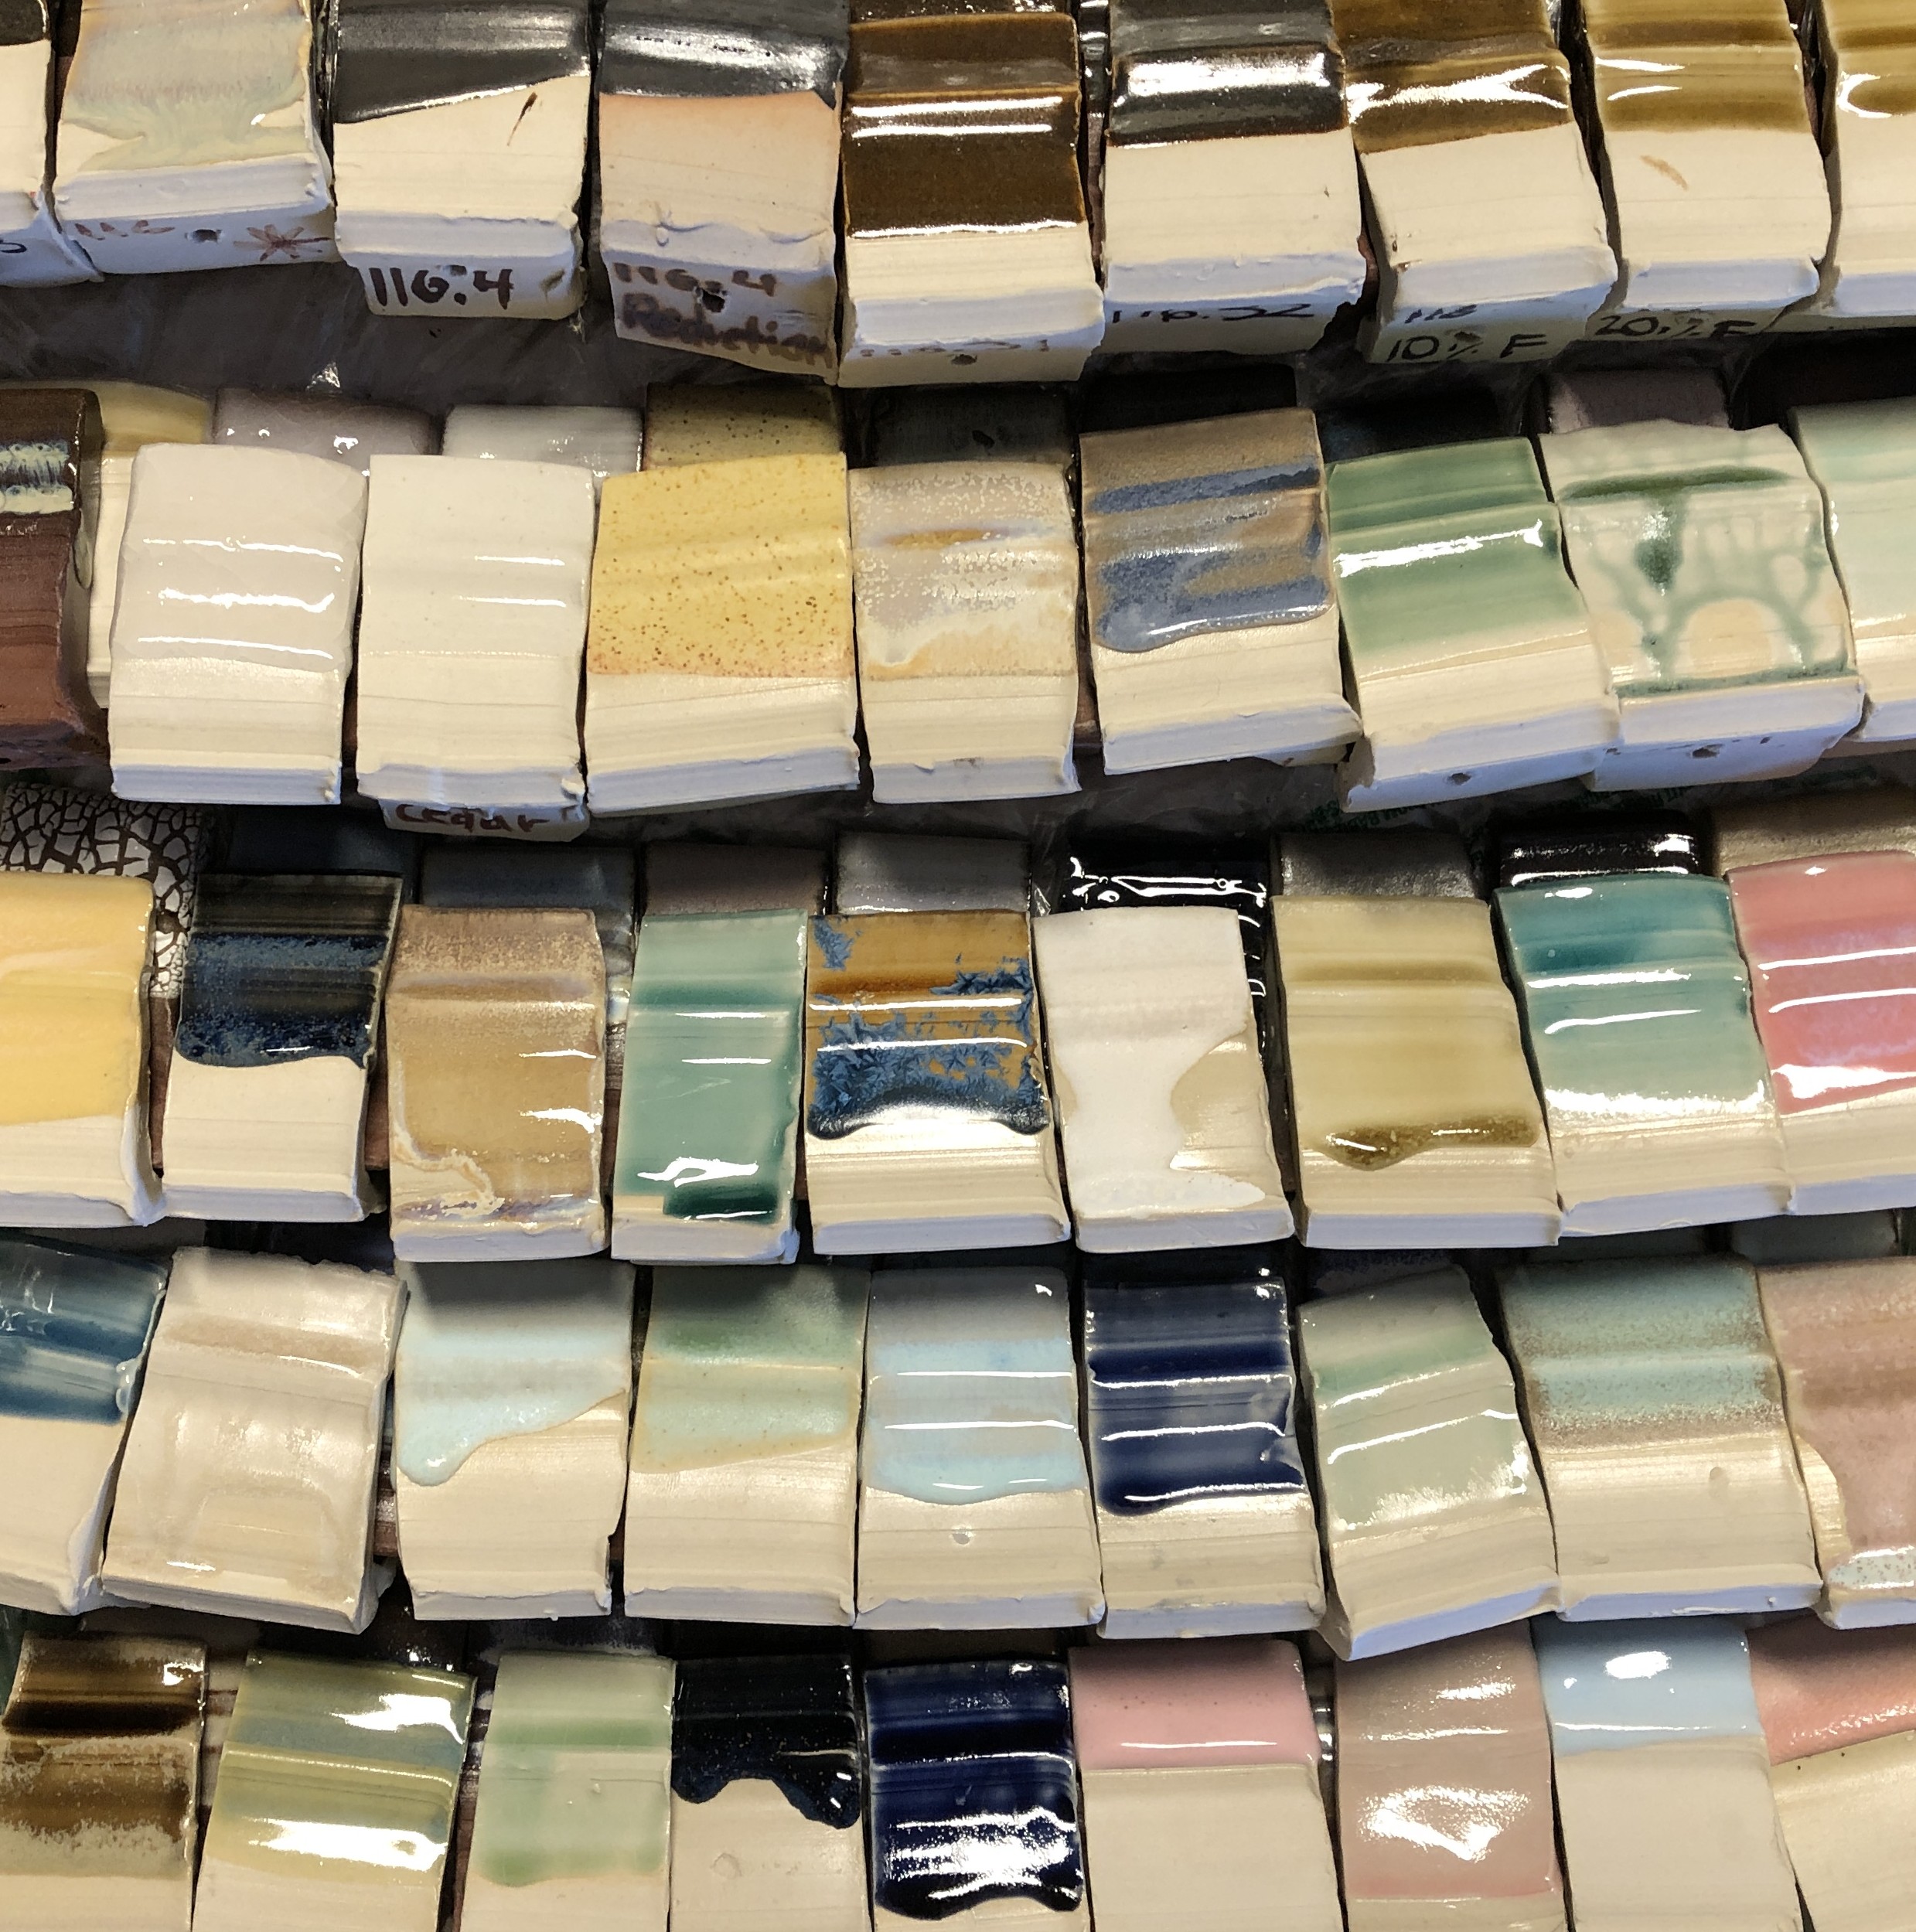
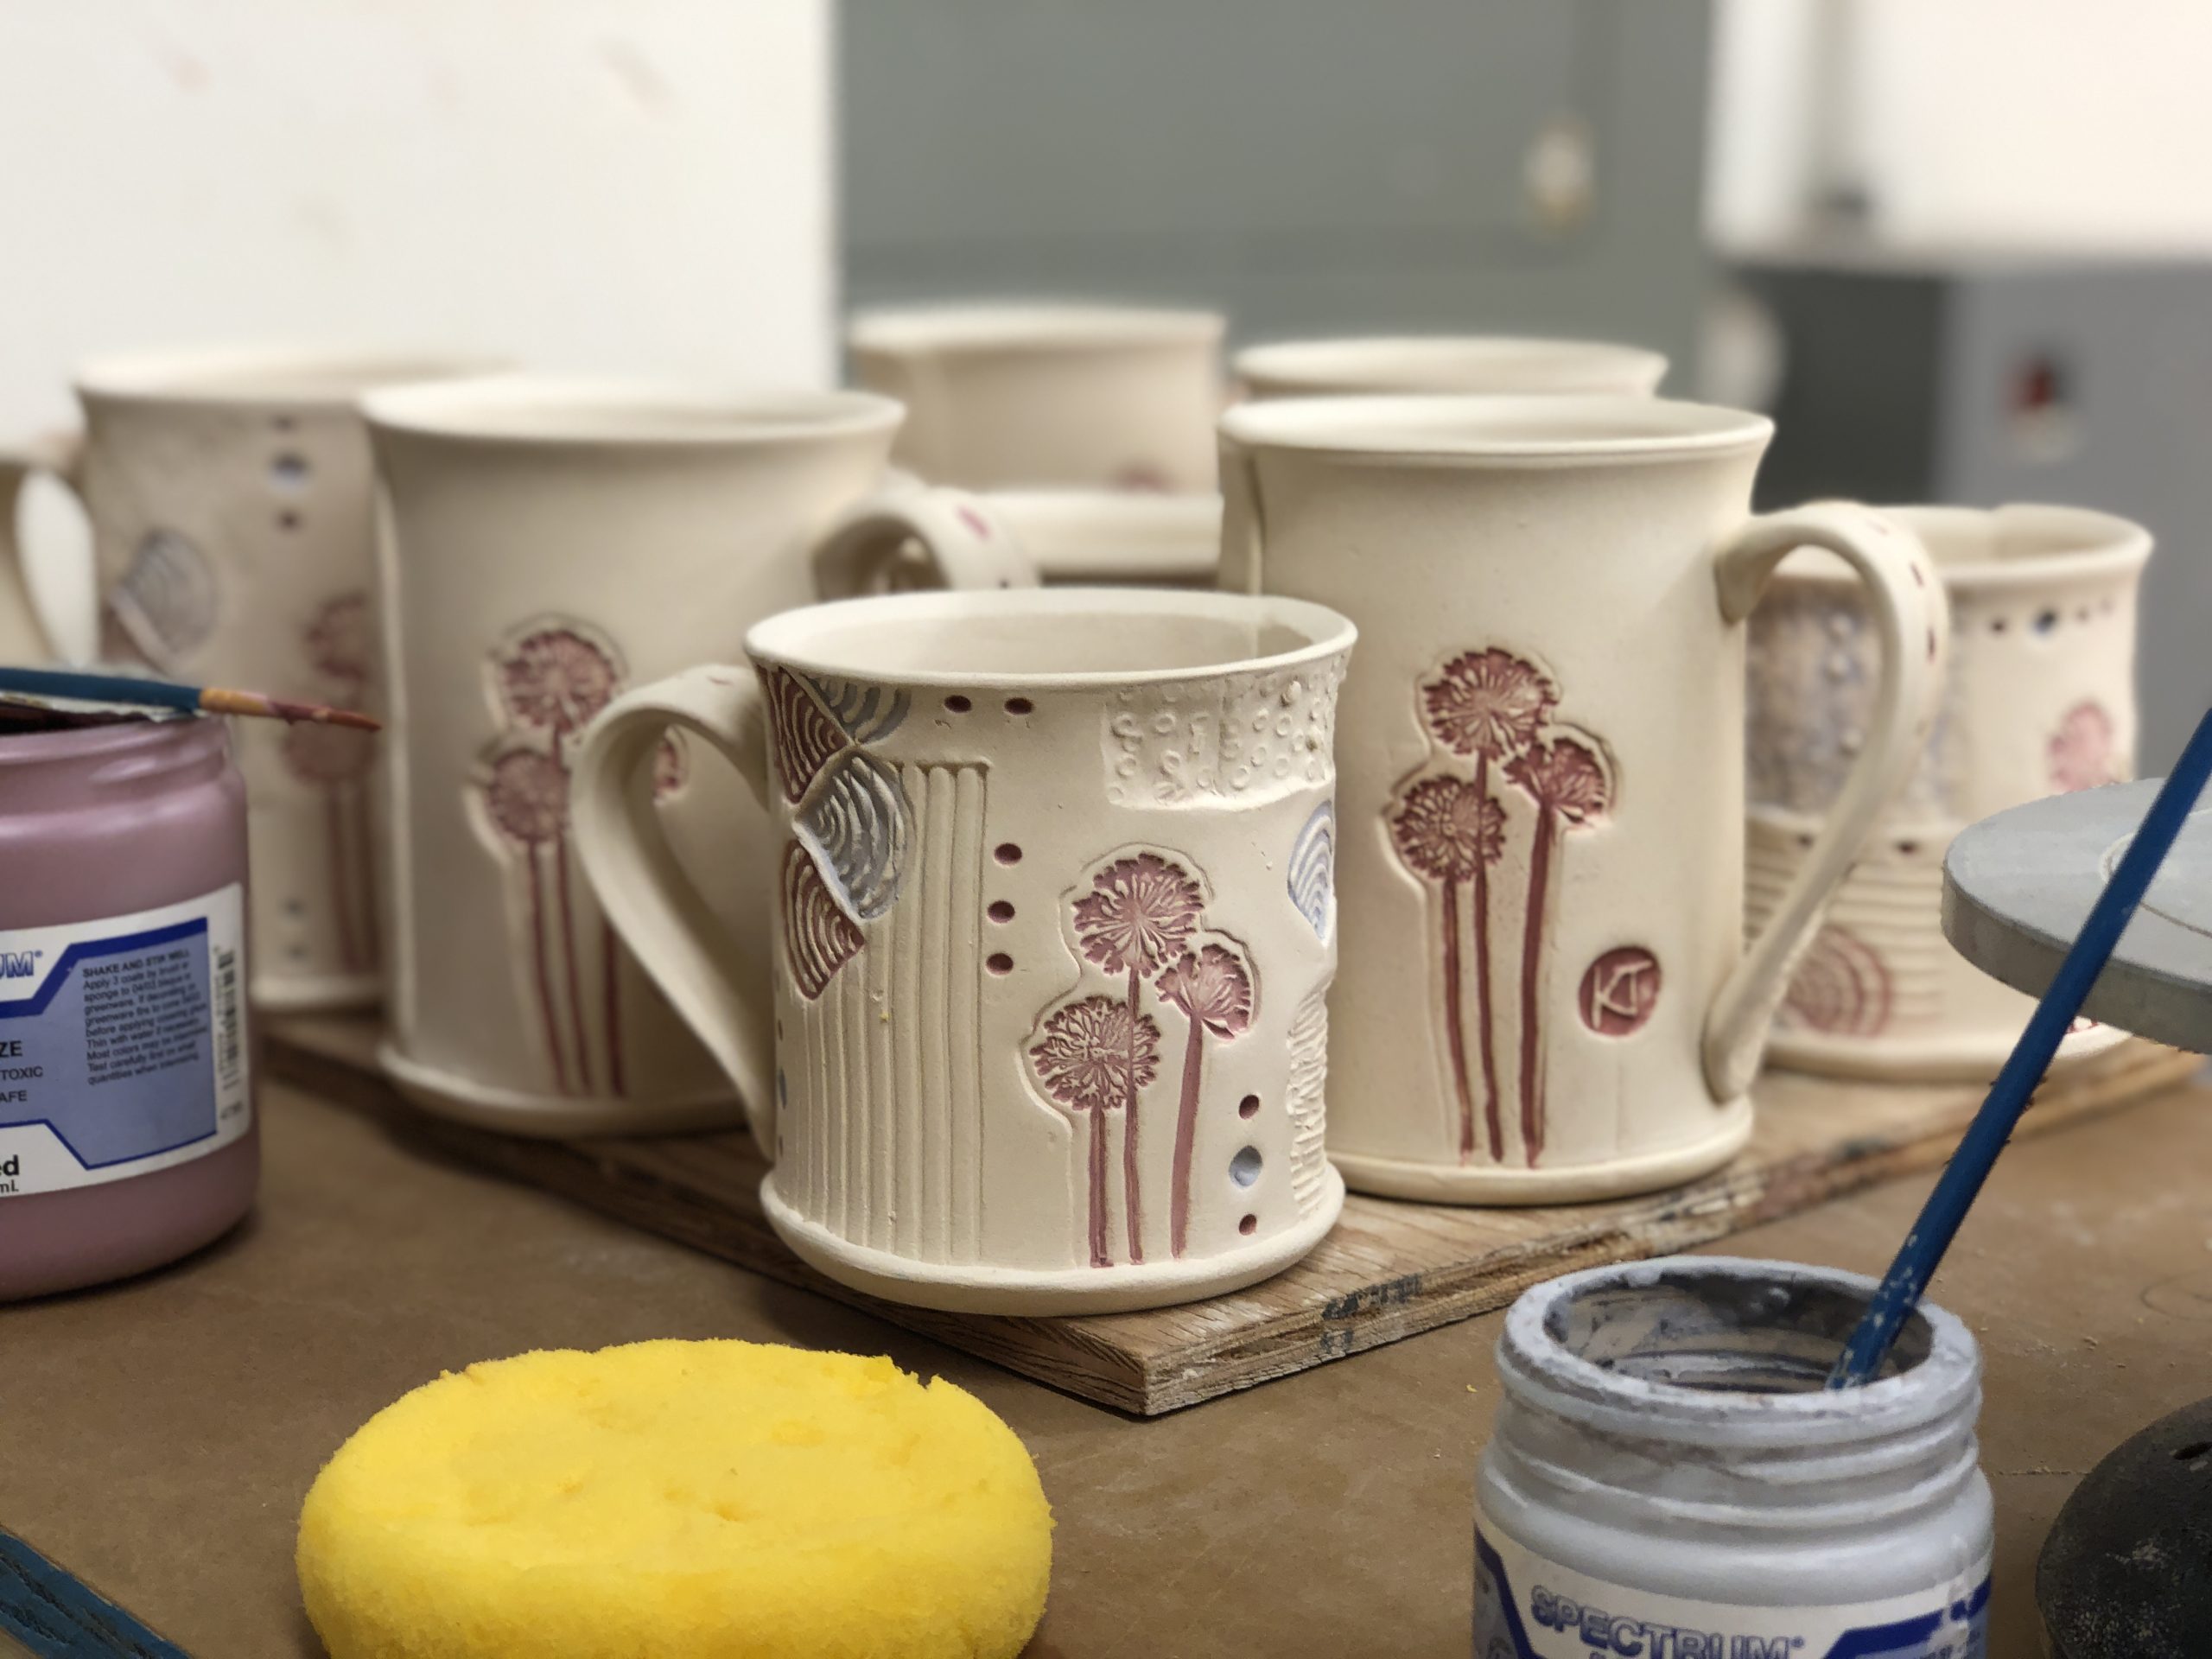
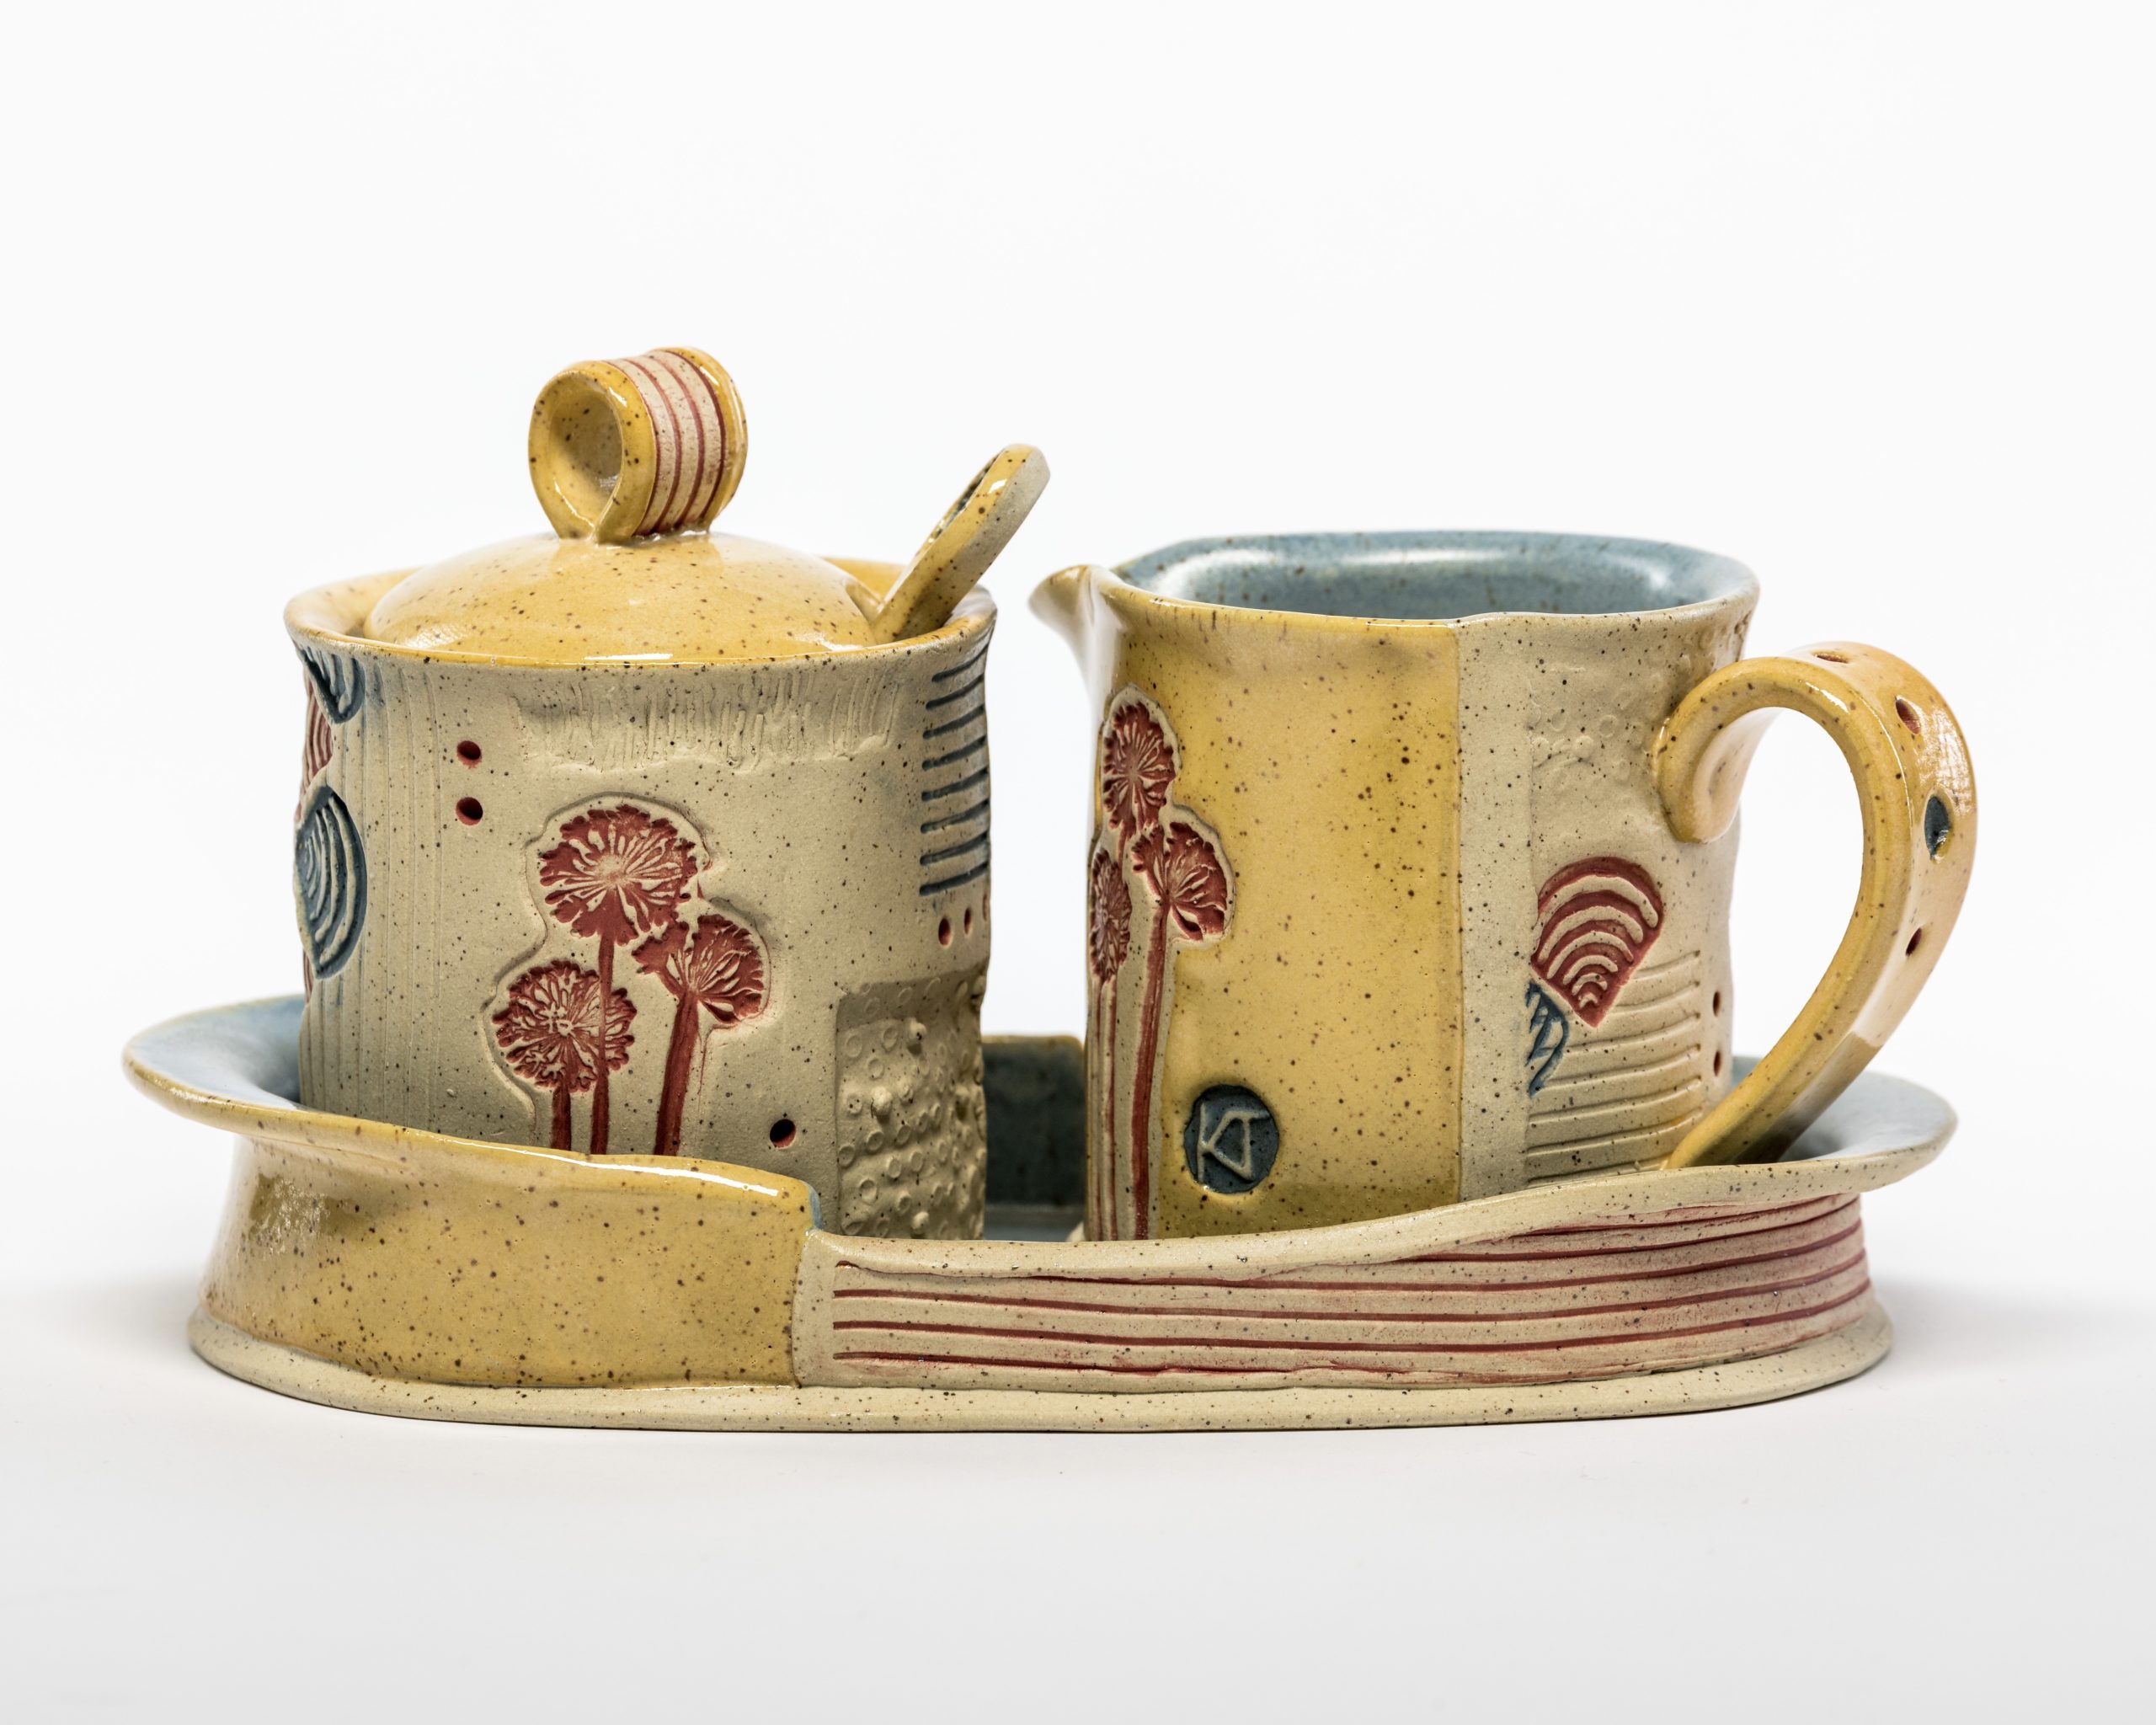
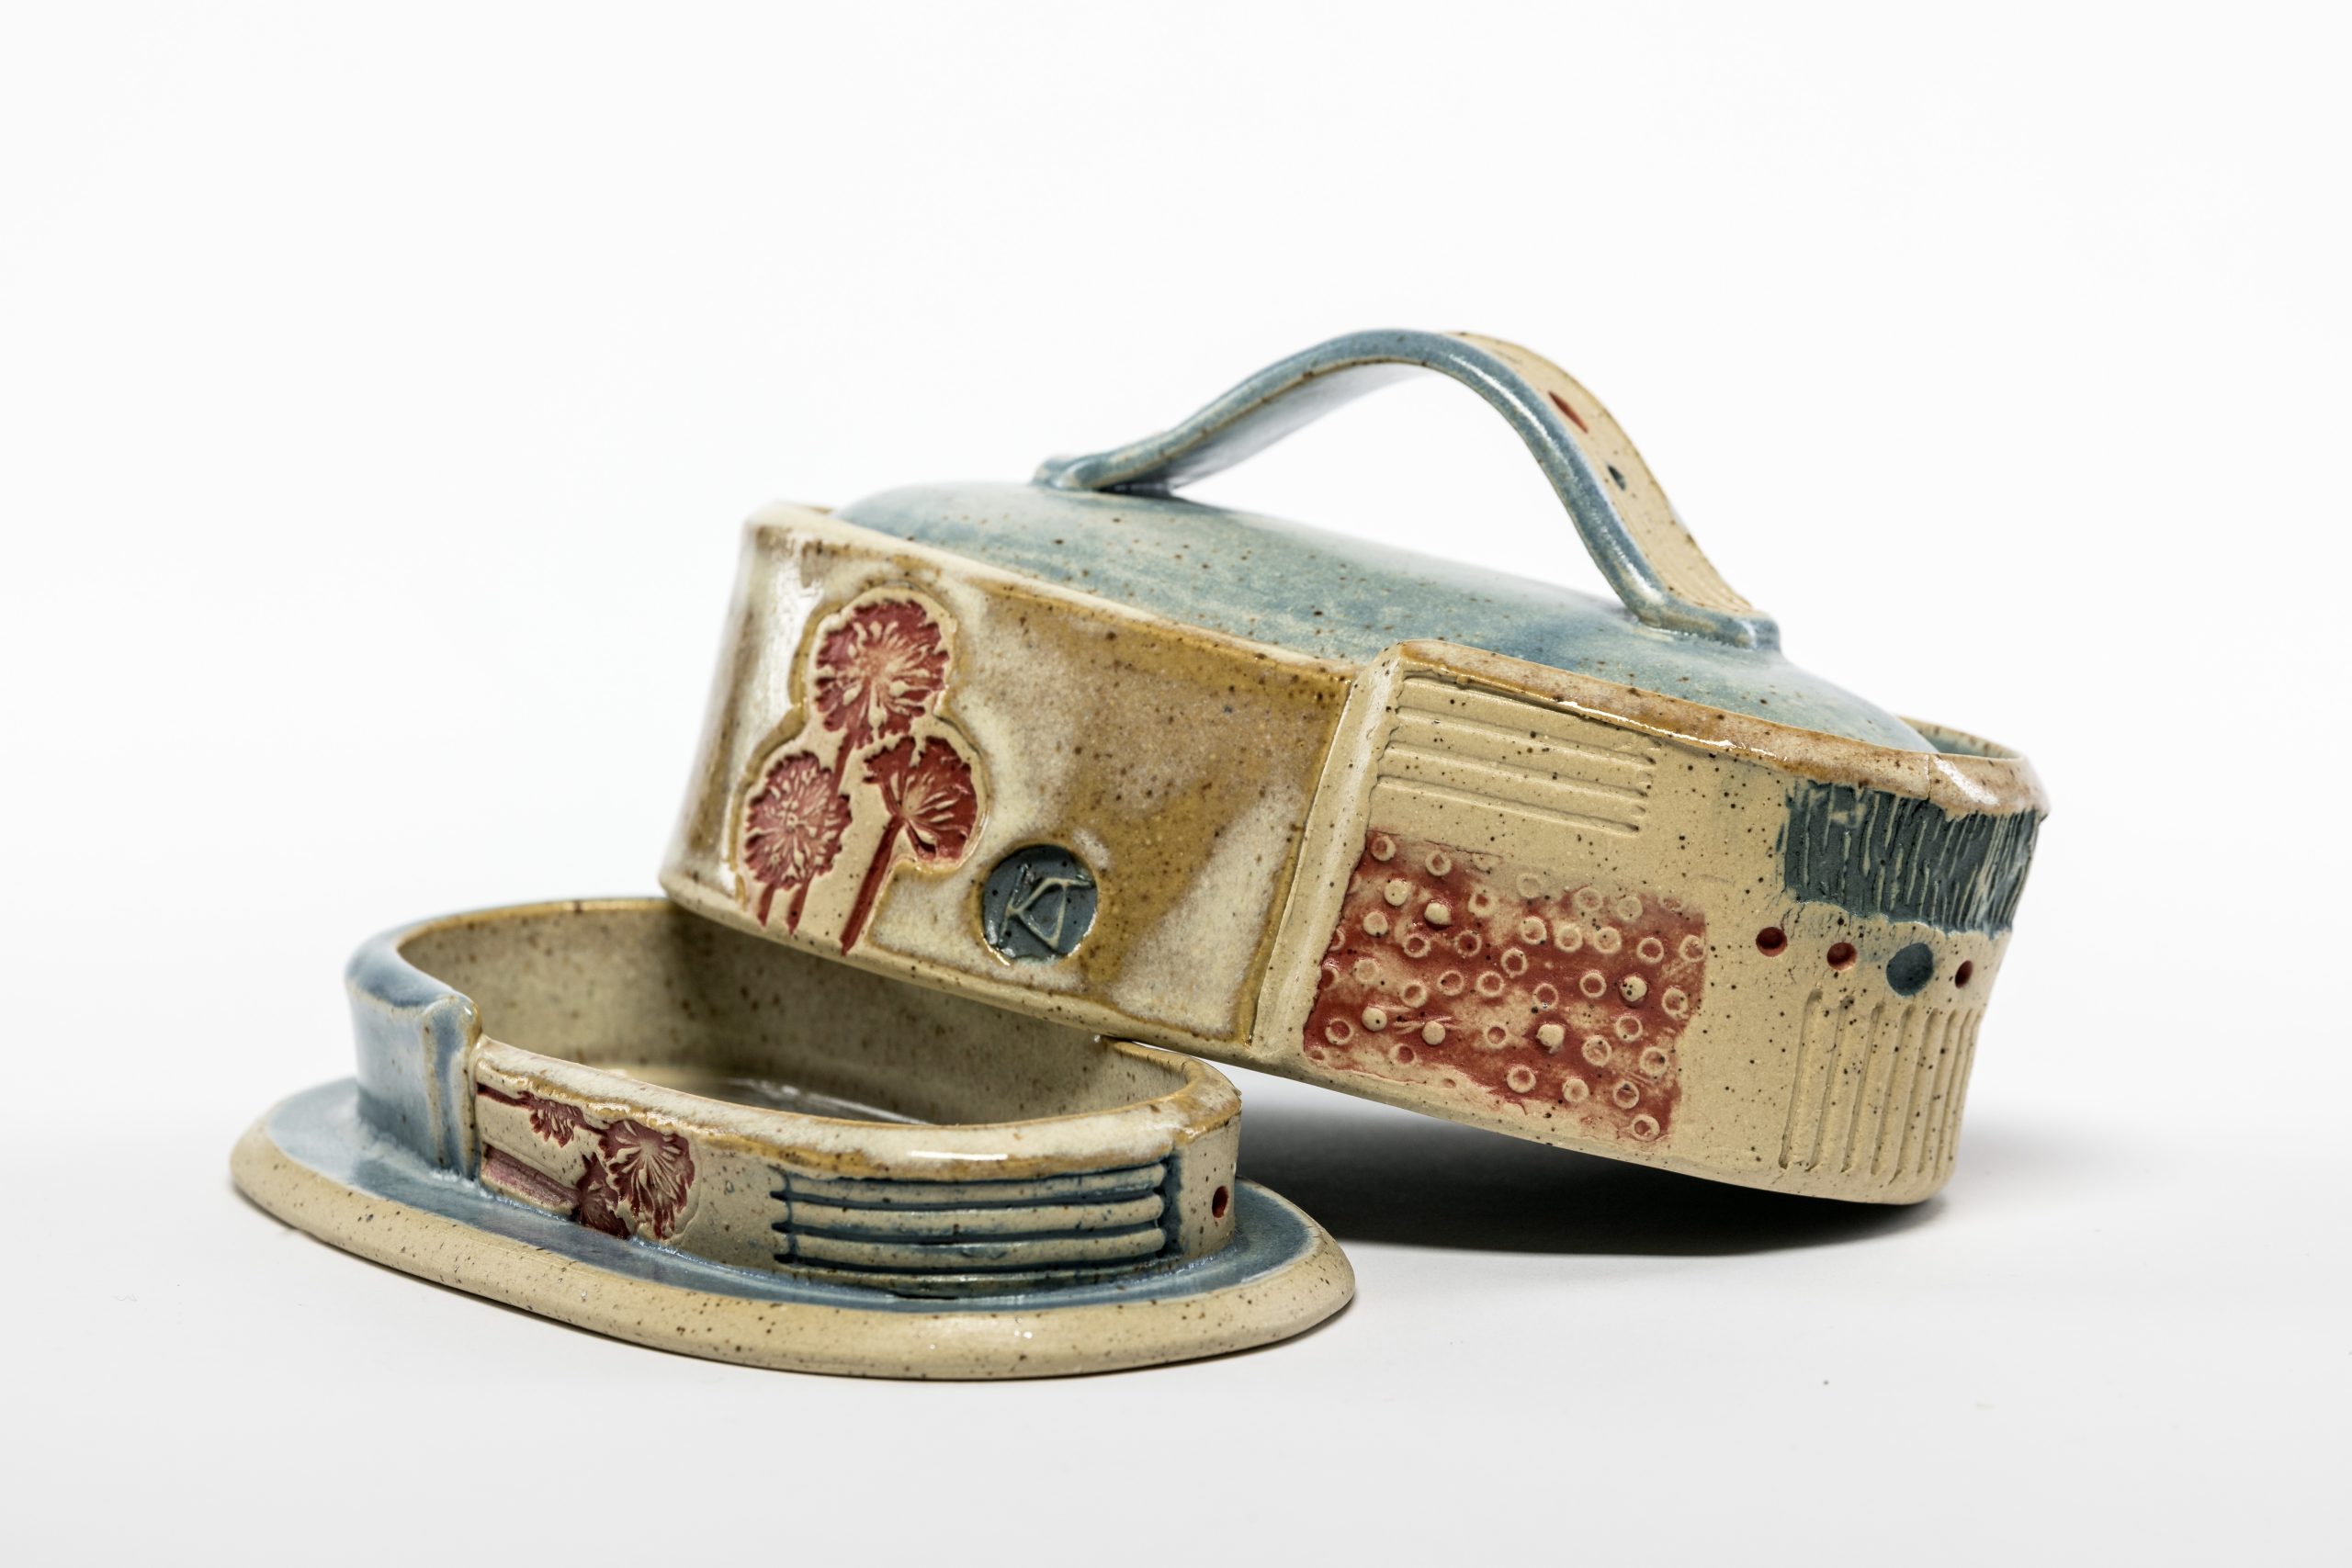
Although there are many different techniques you can use to decorate pottery, colour is typically added onto bisque ware through the form of glaze. First pieces get cleaned to remove any leftover clay dust, then waxed on the bottom to repel glaze, which prevents it from fusing to the kiln. Once dry, they can be dipped into buckets of liquid glaze or hand painted with coloured underglazes. Detailed designs with underglaze get 3 layers for a solid, even colour, before being dipped in a clear glaze once dry.
Finally the piece goes through its last mandatory kiln firing, which melts the glaze and vitrifies the clay, rendering the ceramic work food-safe. Mid-range stoneware vitrifies at cone 6, which is around 2232°F (1222°C) and takes around 8-12 hours to reach temperature and another 12-24 hours to cool. After the glaze kiln firing and cooling, if the clay hasn’t cracked, and glaze hasn’t crawled, cracked, or bubbled = Success!
Next can come sanding the bottom of pieces smooth, as well as food-safe sealants to lengthen the life of functional ware. Sometimes even an additional 3rd lower firing for gold and other metallic decorations, called luster. At last the ceramic piece is now ready for your home!


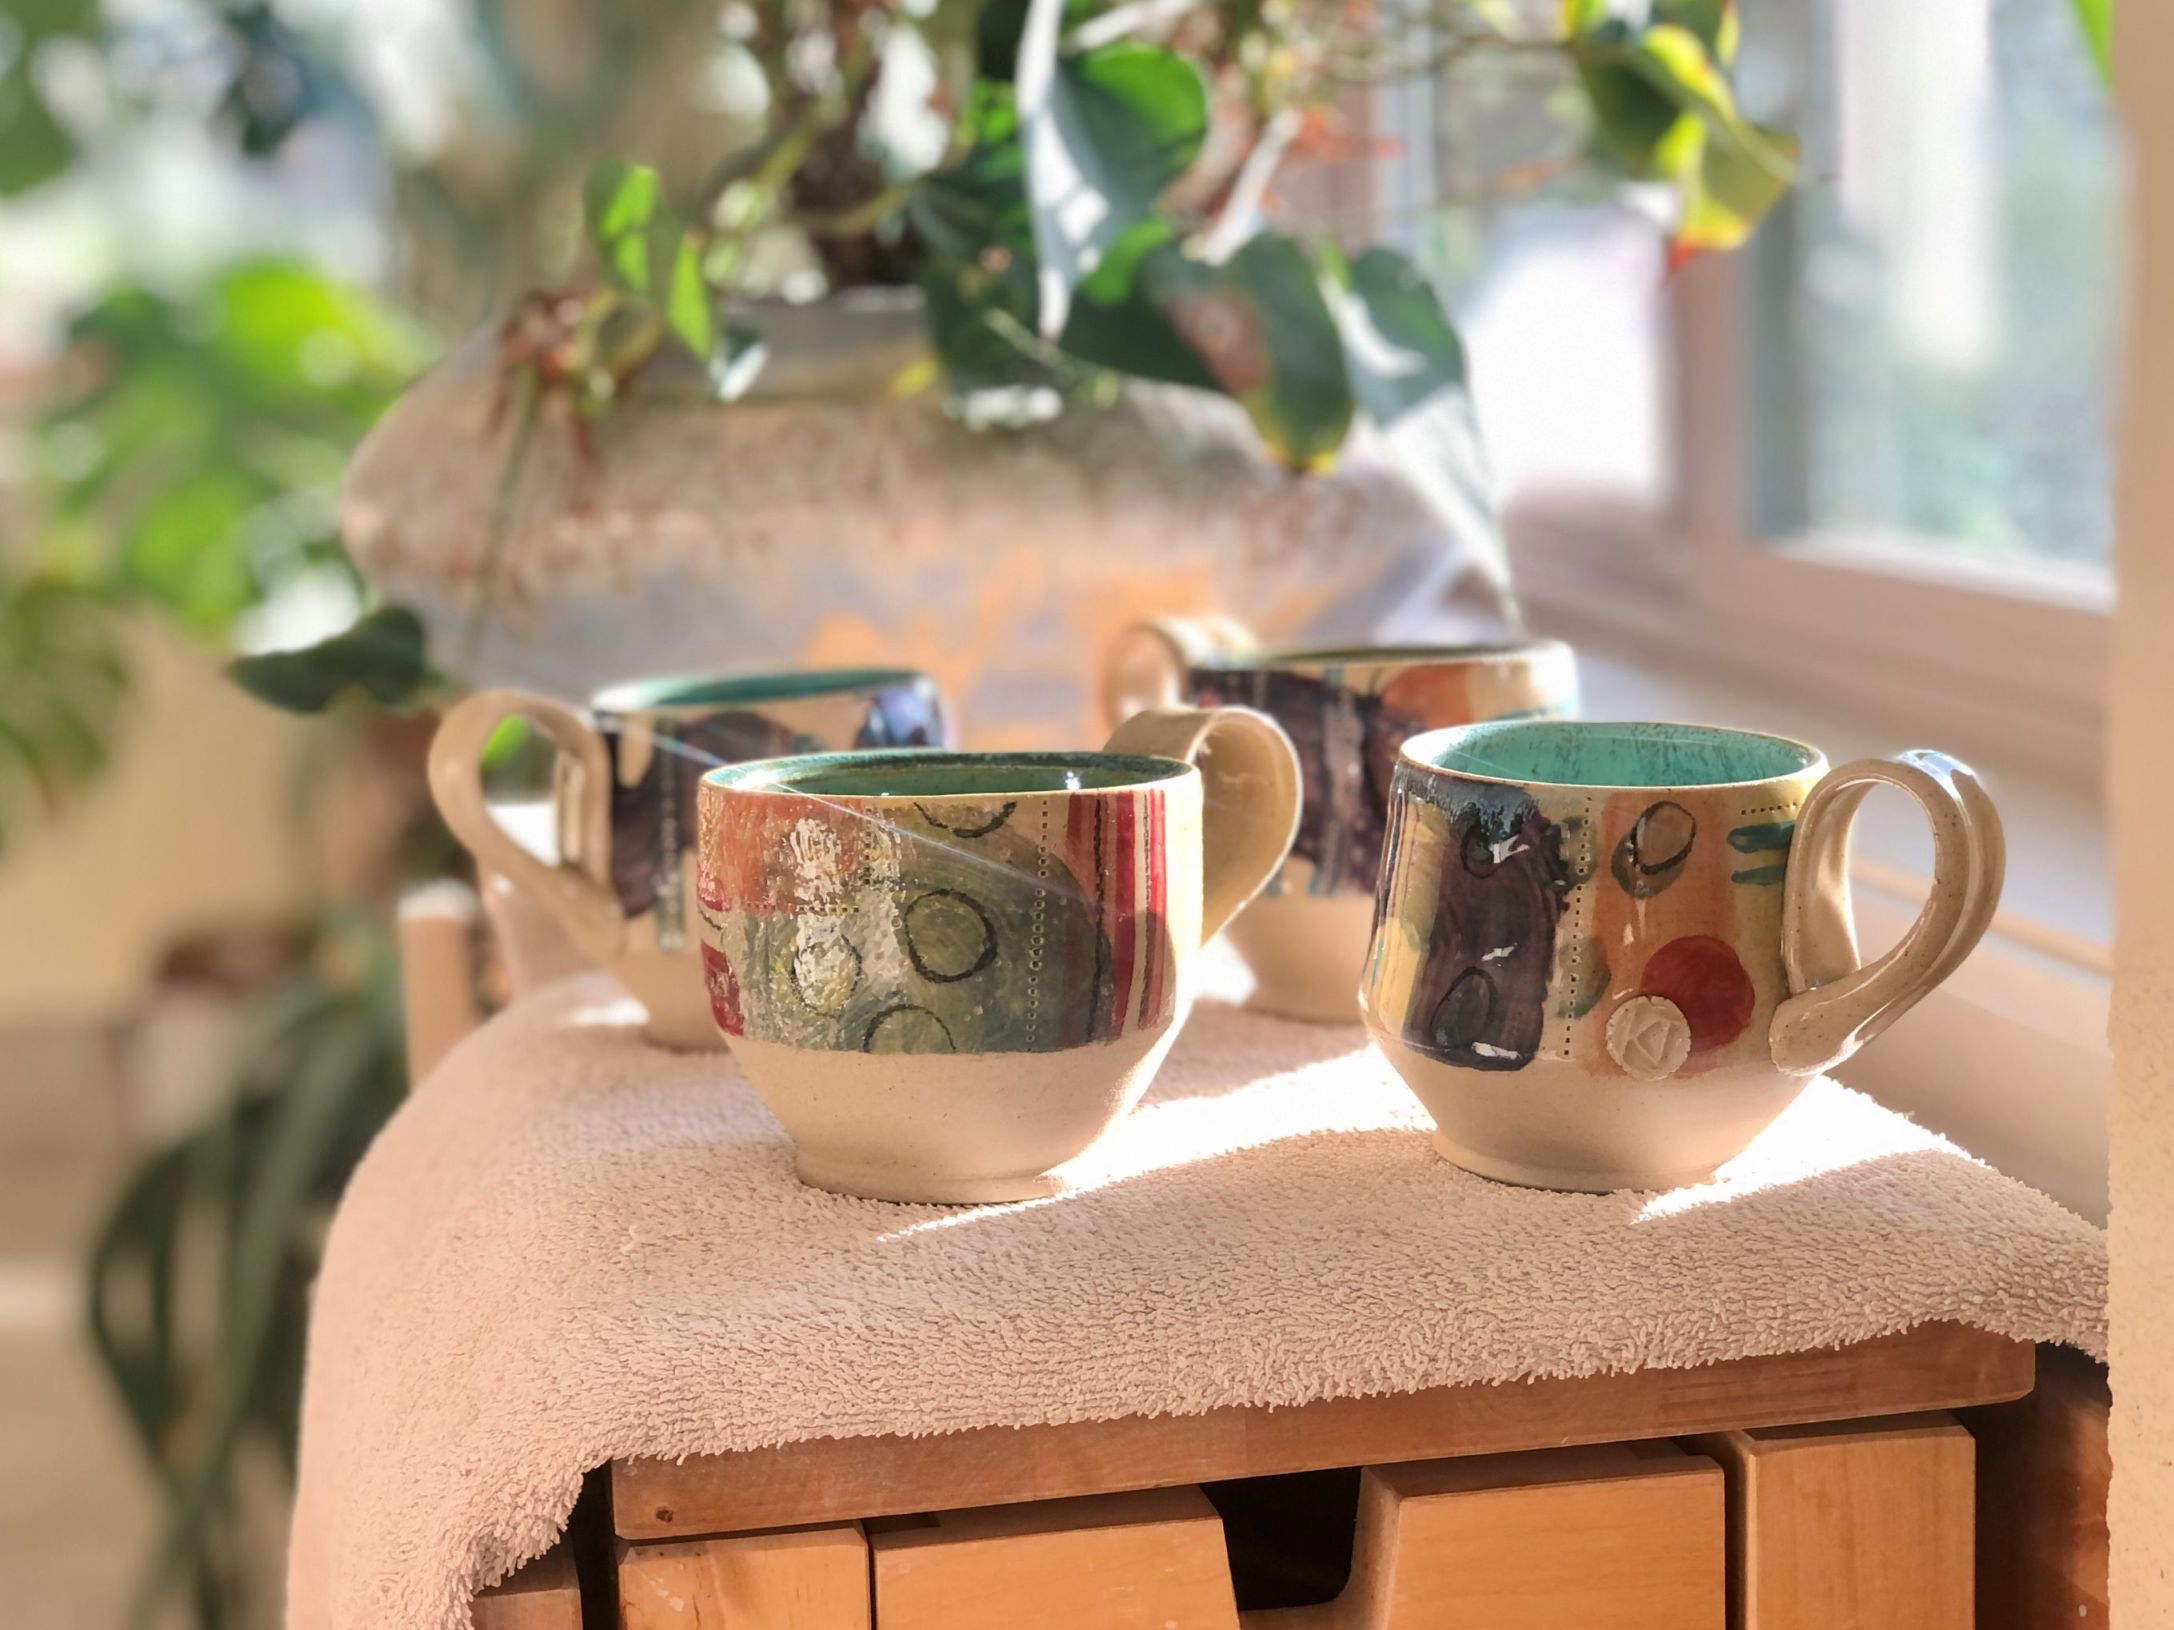
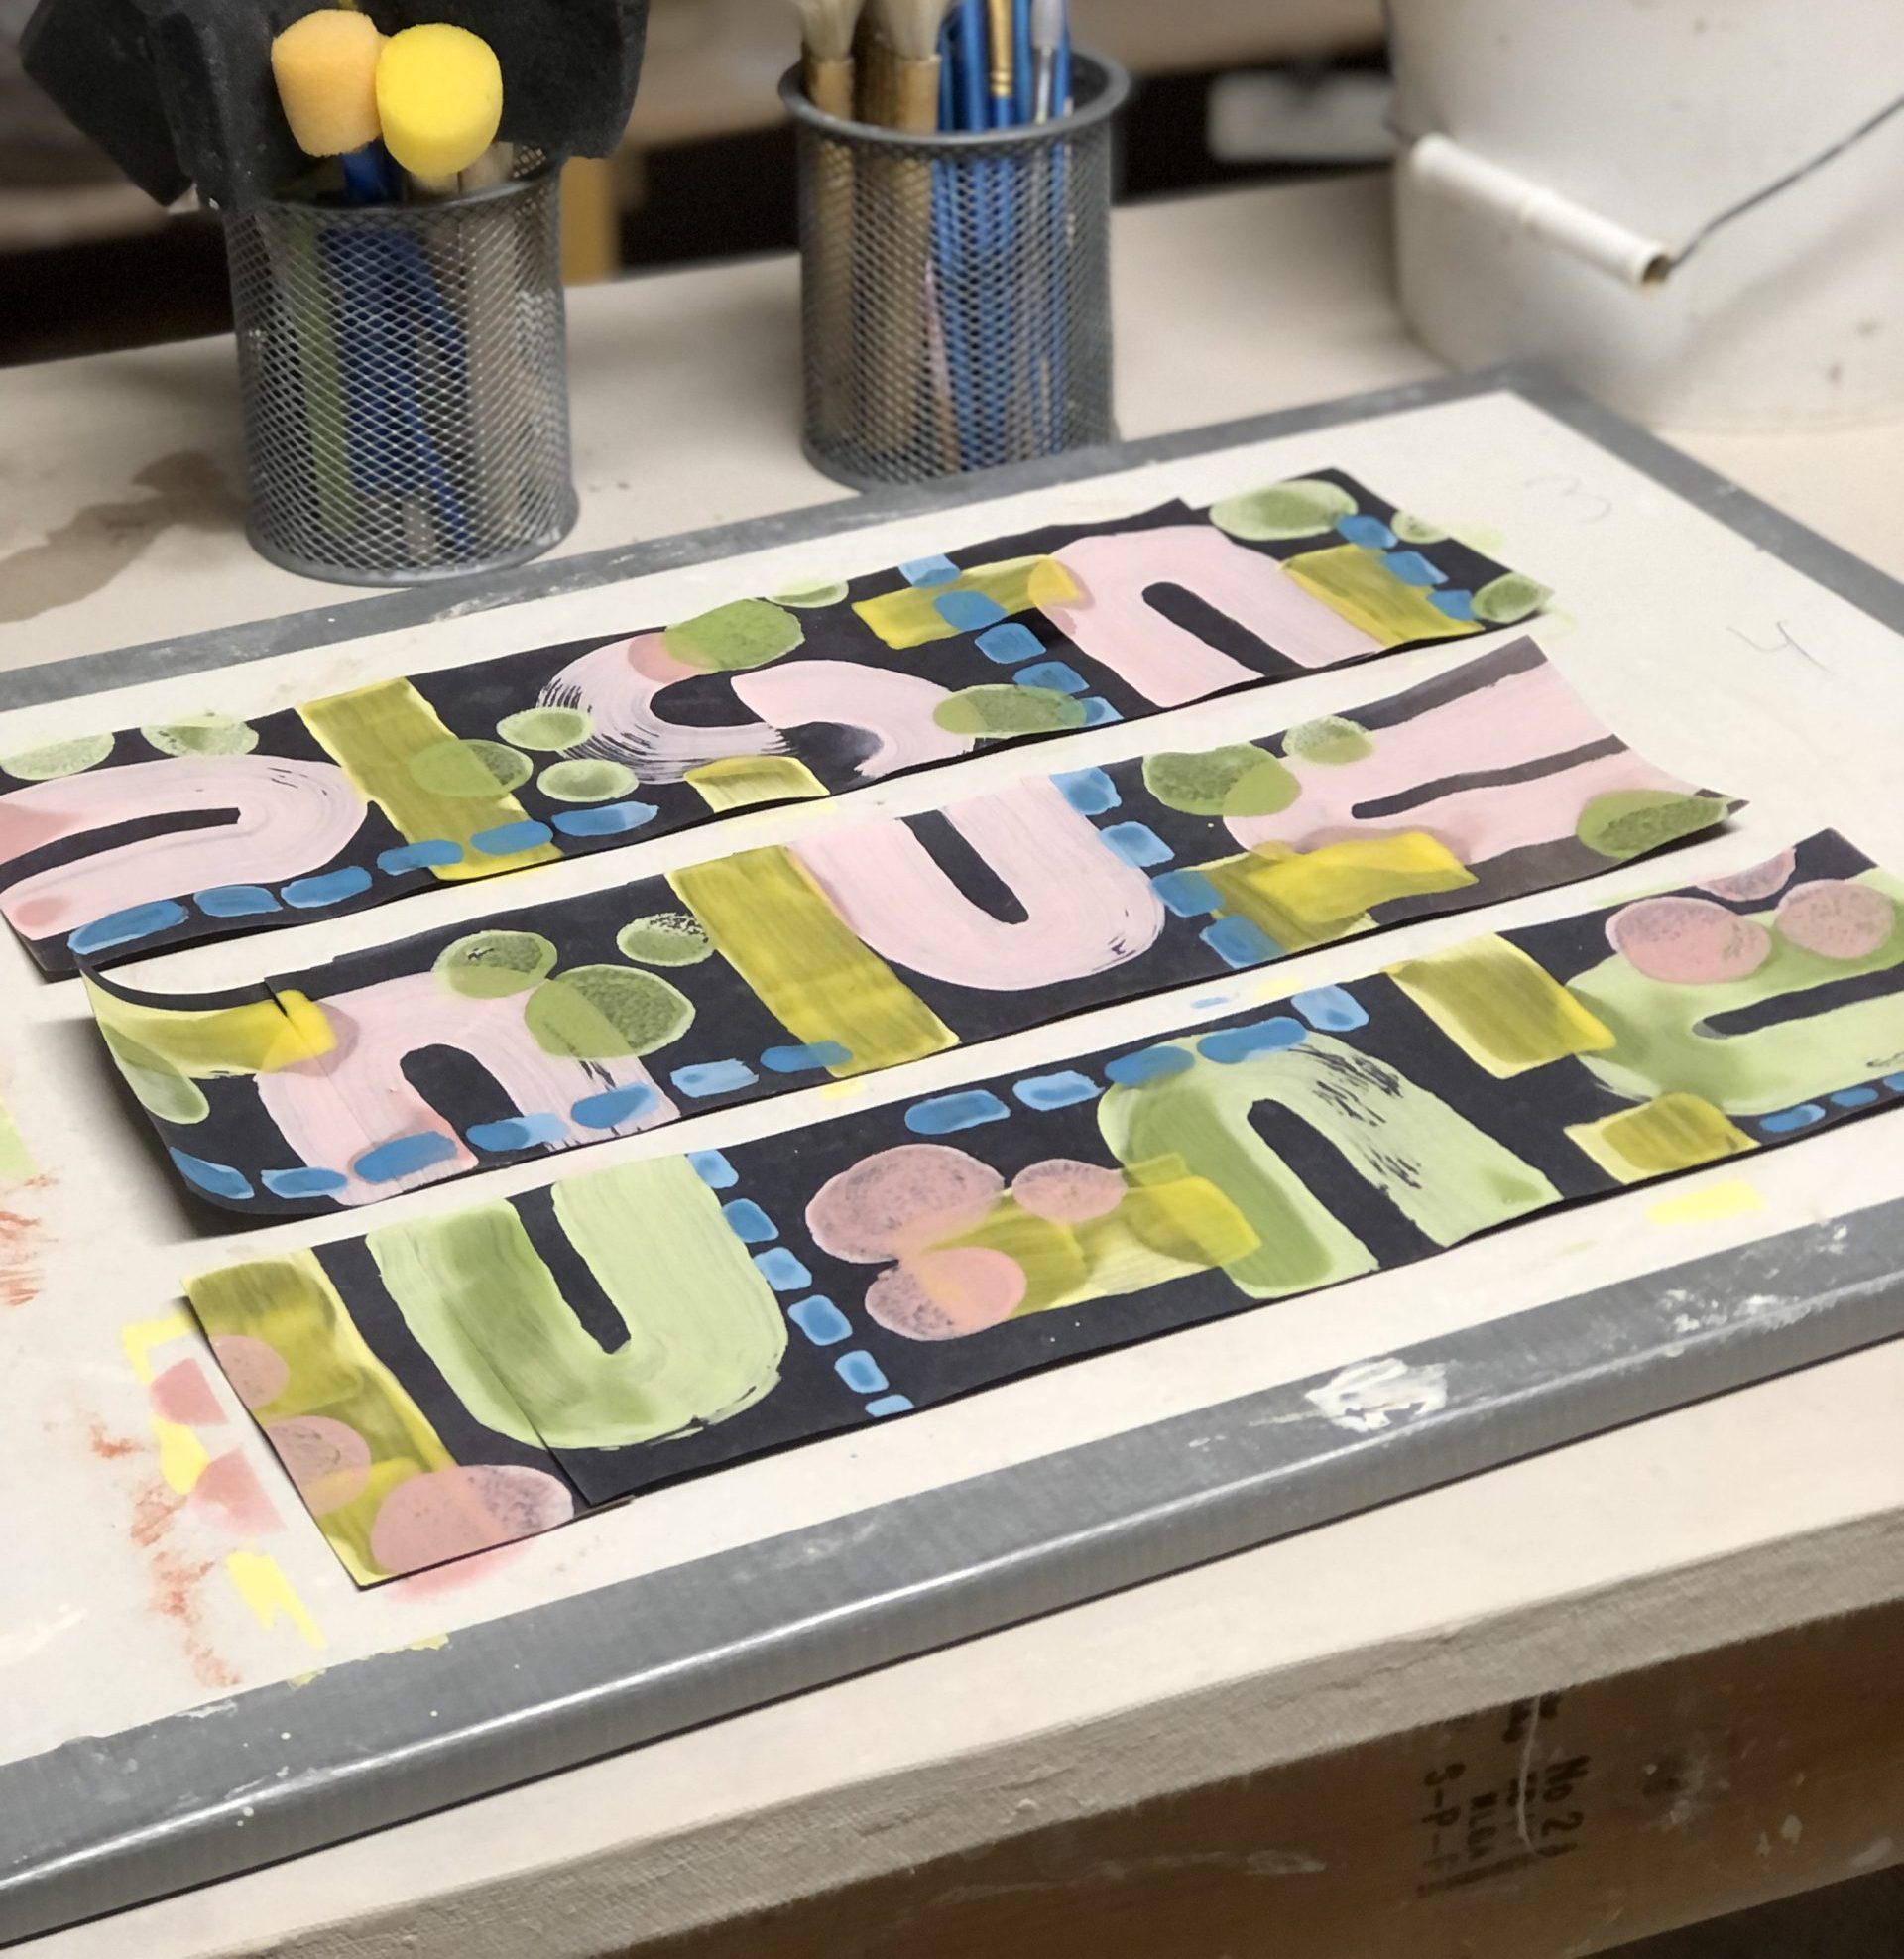
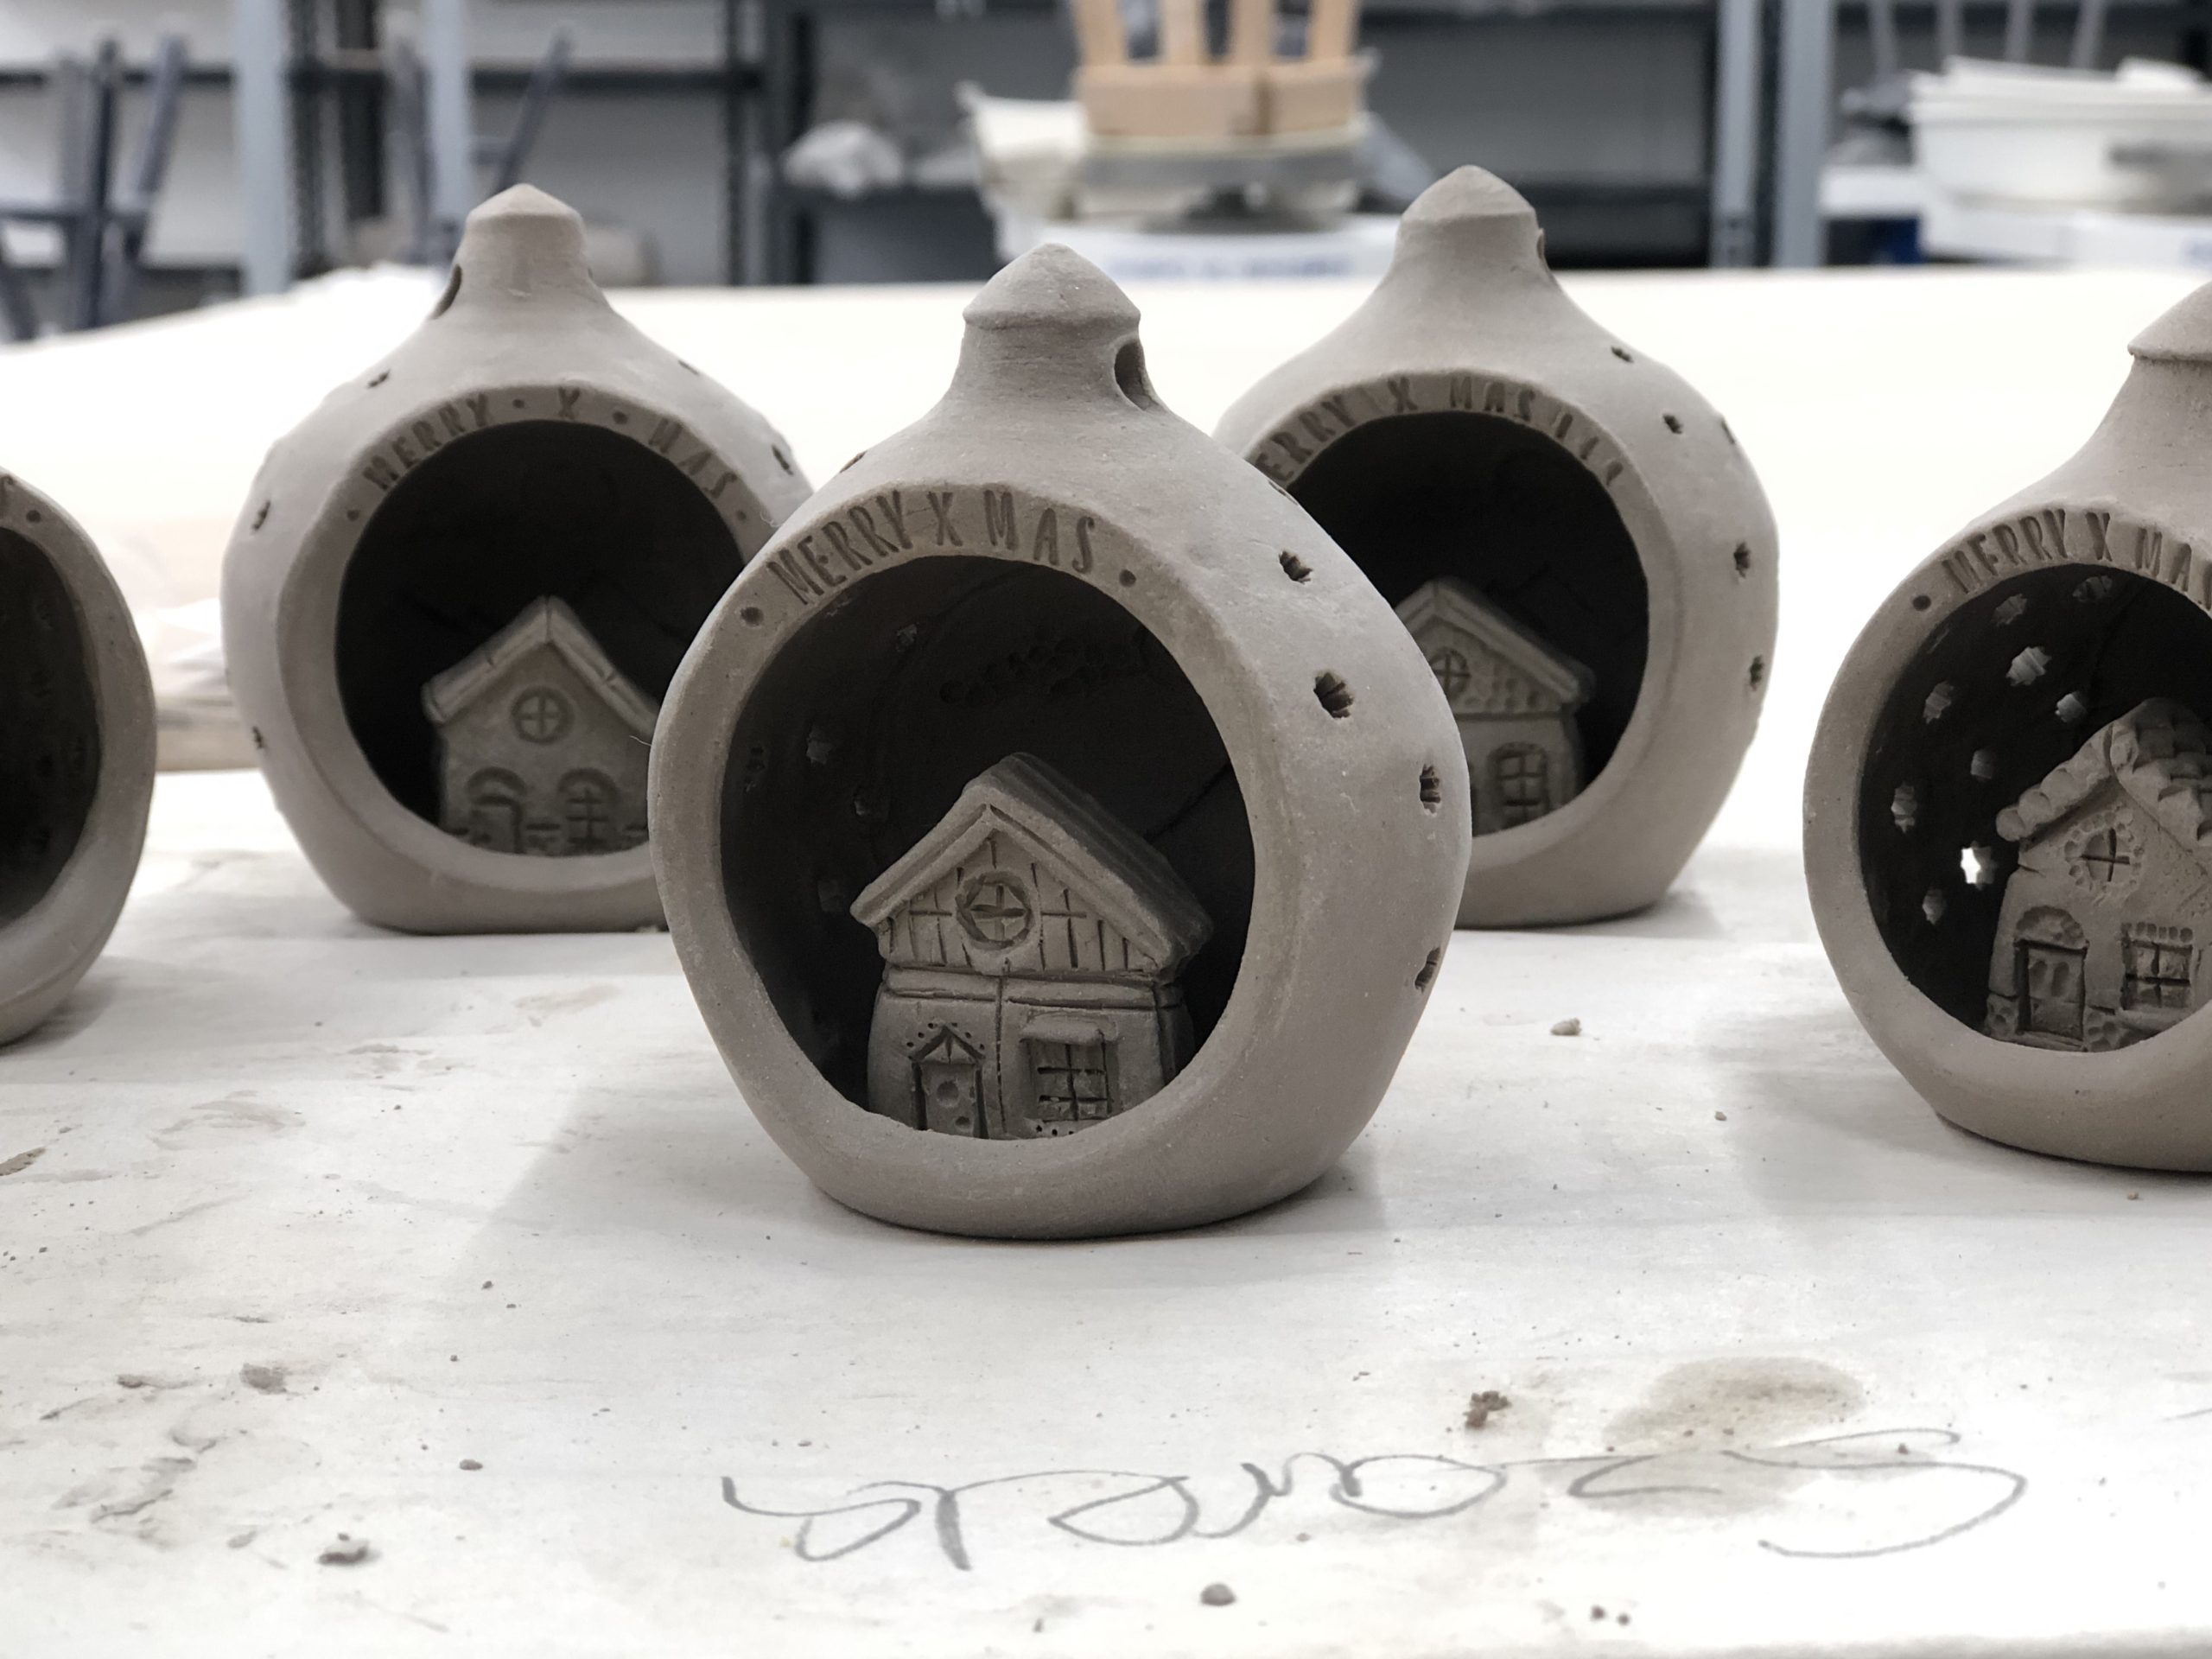
Monoprints.
This is a ceramic technique where you create a design with underglazes or coloured slips onto paper first, which can then get transferred onto a leather-hard 3D ceramic piece. The transferring of design from paper onto clay creates a rustic, weathered look in sections that didn’t apply, revealing the clay underneath. Each piece, even if the initial design is the same, become one a kind due to the spontaneous nature of the transfer.
Currently, every one of my monoprints are completely unique, with each abstract design also being spontaneously created on the spot, having a different composition every time. I fell in love with the added textures, depth, and character this technique brings to each piece, combining my love of clay with my passion for details, patterns, and whimsy.
